


What I learned from a Bambu Labs A1 3D printer, part 2: Upgrades and mistakes

3D-printing new parts for the A1 taught me a lot about plastic, and other things.
Different plastic filament is good for different things (and some kinds don’t work well with the A1 and other open-bed printers).
Credit:
Andrew Cunningham
Different plastic filament is good for different things (and some kinds don’t work well with the A1 and other open-bed printers).
Credit:
Andrew Cunningham
For the last three months or so, I’ve been learning to use (and love) a Bambu Labs A1 3D printer, a big, loud machine that sits on my desk and turns pictures on my computer screen into real-world objects.
In the first part of my series about diving into the wild world of 3D printers, I covered what I’d learned about the different types of 3D printers, some useful settings in the Bambu Studio app (which should also be broadly useful to know about no matter what printer you use), and some initial, magical-feeling successes in downloading files that I turned into useful physical items using a few feet of plastic filament and a couple hours of time.
For this second part, I’m focusing on what I learned when I embarked on my first major project—printing upgrade parts for the A1 with the A1. It was here that I made some of my first big 3D printing mistakes, mistakes that prompted me to read up on the different kinds of 3D printer filament, what each type of filament is good for, and which types the A1 is (and is not) good at handling as an un-enclosed, bed-slinging printer.
As with the information in part one, I share this with you not because it is groundbreaking but because there’s a lot of information out there, and it can be an intimidating hobby to break into. By sharing what I learned and what I found useful early in my journey, I hope I can help other people who have been debating whether to take the plunge.
Adventures in recursion: 3D-printing 3D printer parts
A display cover for the A1’s screen will protect it from wear and tear and allow you to easily hide it when you want to.
Credit:
Andrew Cunningham
My very first project was a holder for my office’s ceiling fan remote. My second, similarly, was a wall-mounted holder for the Xbox gamepad and wired headset I use with my gaming PC, which normally just had to float around loose on my desk when I wasn’t using them.
These were both relatively quick, simple prints that showed the printer was working like it was supposed to—all of the built-in temperature settings, the textured PEI plate, the printer’s calibration and auto-bed-leveling routines added up to make simple prints as dead-easy as Bambu promised they would be. It made me eager to seek out other prints, including stuff on the Makerworld site I hadn’t thought to try yet.
The first problem I had? Well, as part of its pre-print warmup routine, the A1 spits a couple of grams of filament out and tosses it to the side. This is totally normal—it’s called “purging,” and it gets rid of filament that’s gone brittle from being heated too long. If you’re changing colors, it also clears any last bits of the previous color that are still in the nozzle. But it didn’t seem particularly elegant to have the printer eternally launching little knots of plastic onto my desk.
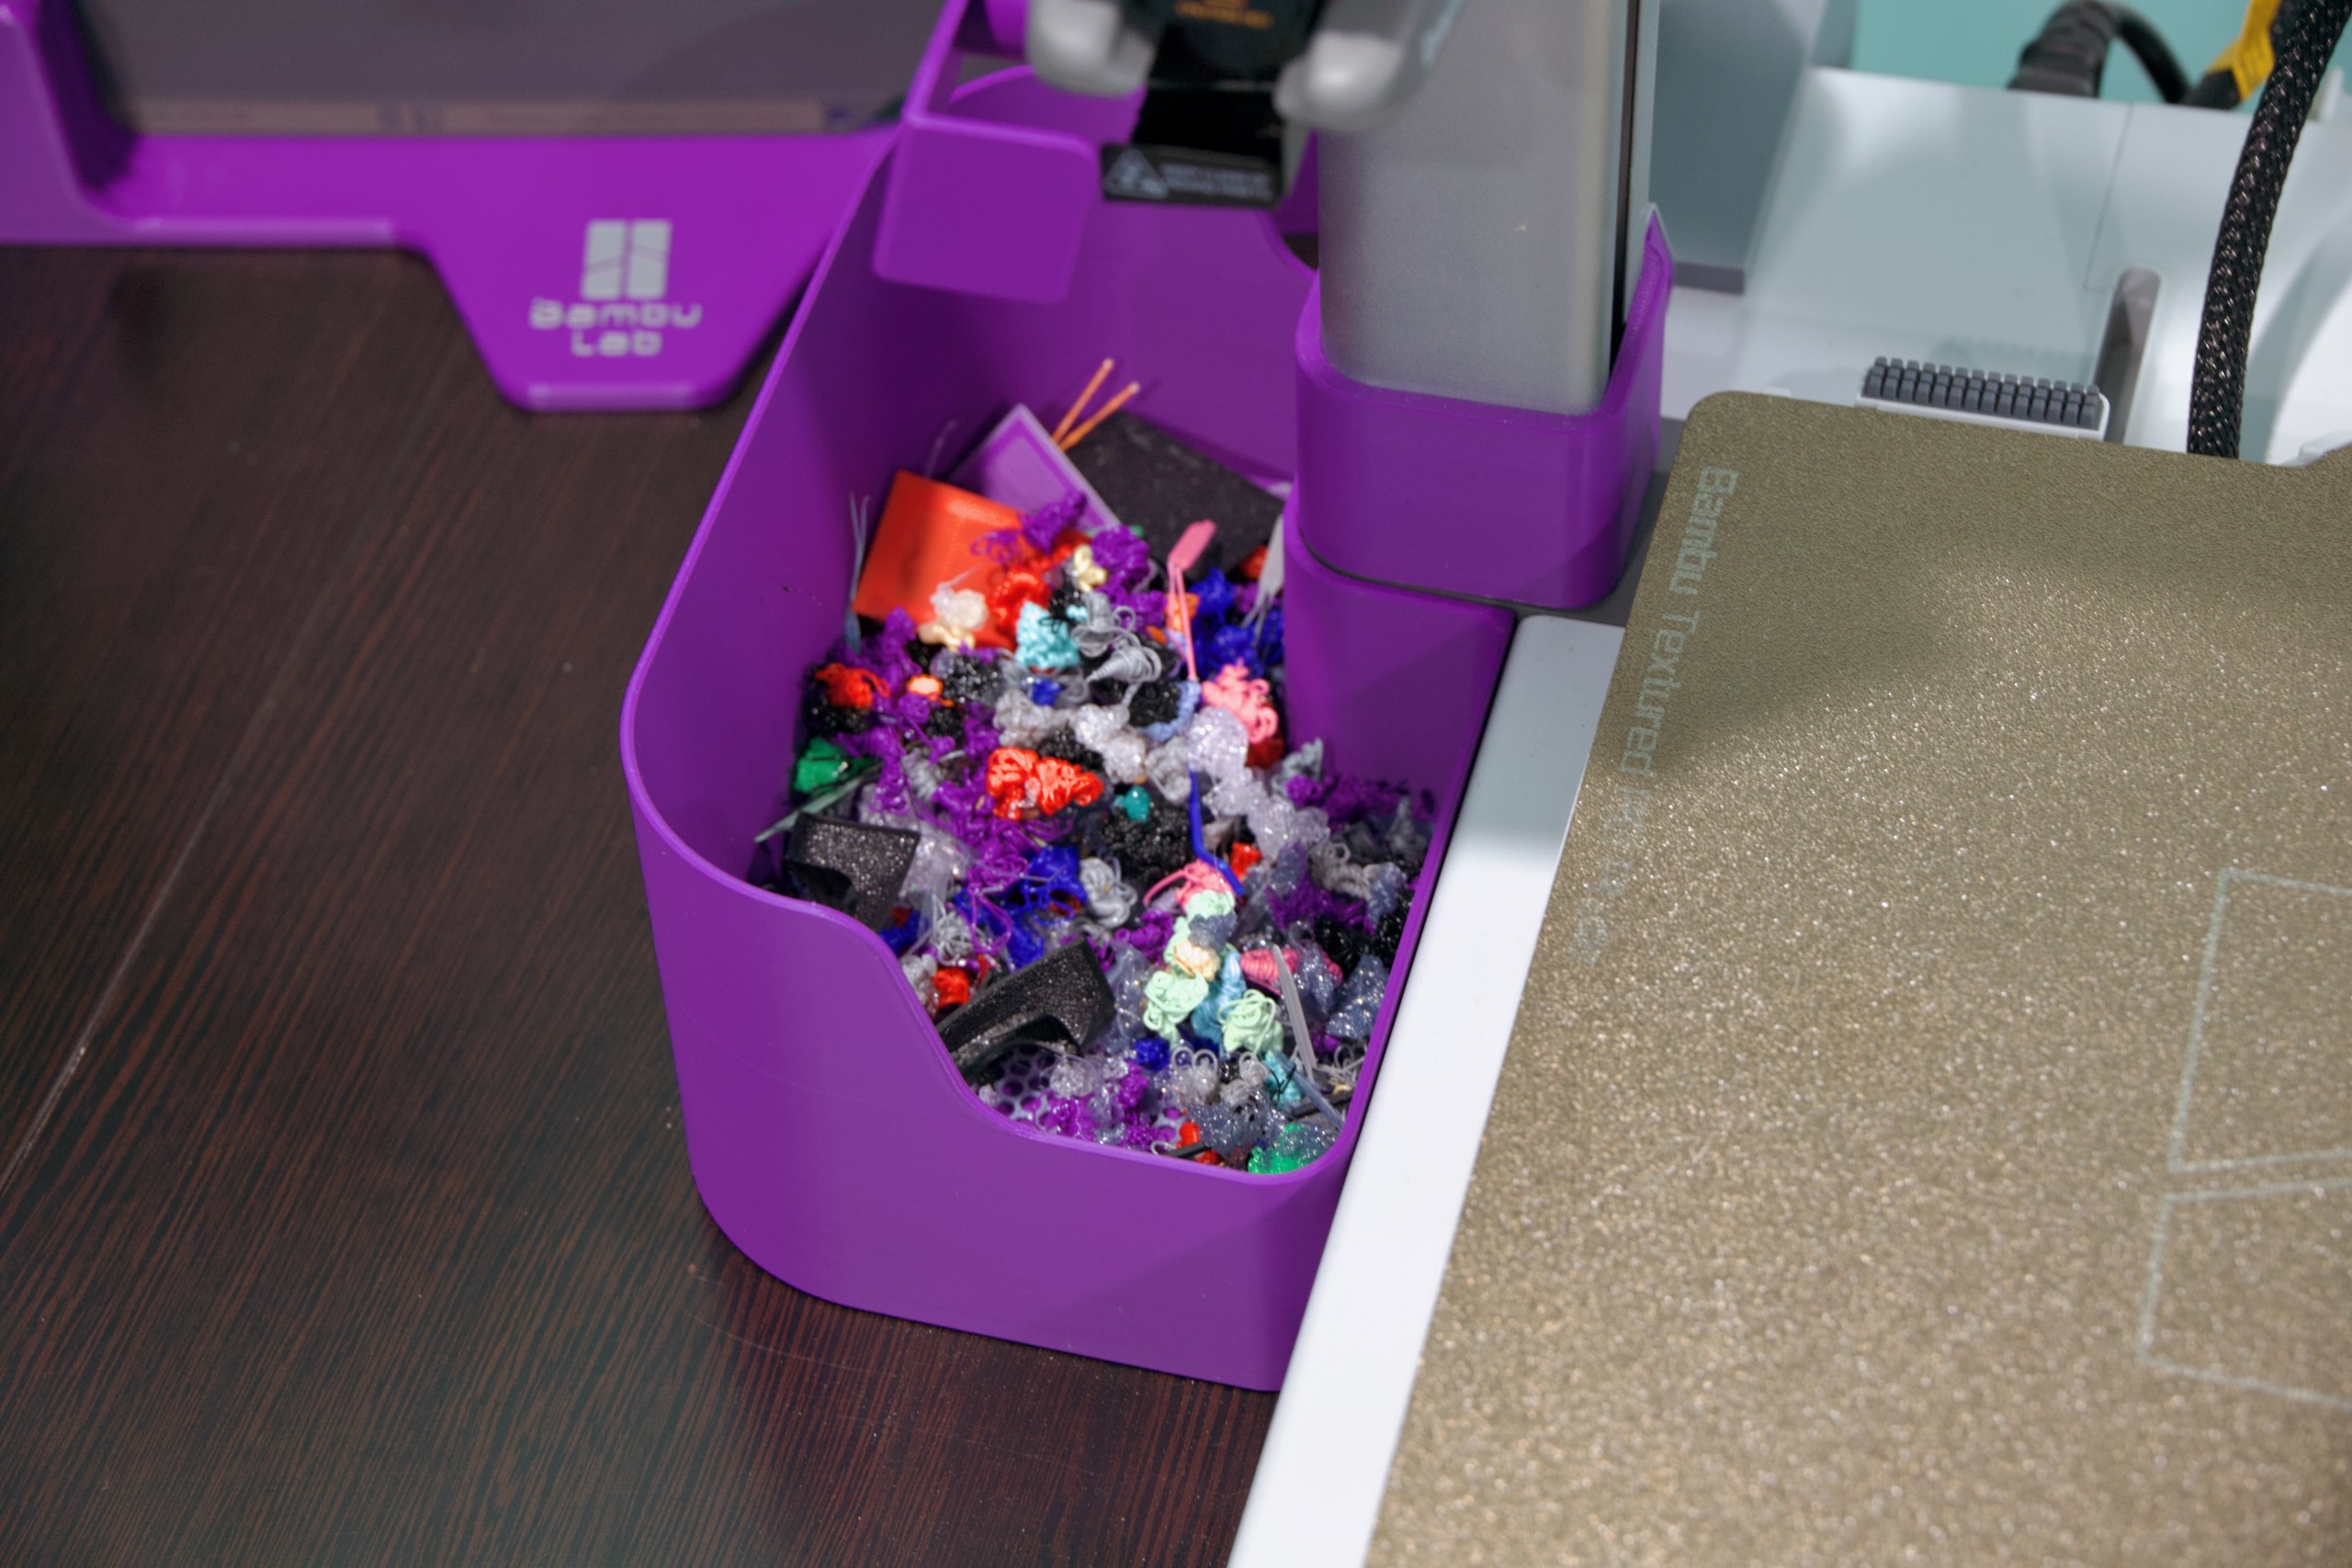
The A1’s default design just ejects little molten wads of plastic all over your desk when it’s changing or purging filament. This is one of many waste bin (or “poop bucket”) designs made to catch and store these bits and pieces.
Credit:
Andrew Cunningham
The solution to this was to 3D-print a purging bucket for the A1 (also referred to, of course, as a “poop bucket” or “poop chute.”) In fact, there are tons of purging buckets designed specifically for the A1 because it’s a fairly popular budget model and there’s nothing stopping people from making parts that fit it like a glove.
I printed this bucket, as well as an additional little bracket that would “catch” the purged filament and make sure it fell into the bucket. And this opened the door to my first major printing project: printing additional parts for the printer itself.
I took to YouTube and watched a couple of videos on the topic because I’m apparently far from the first person who has had this reaction to the A1. After much watching and reading, here are the parts I ended up printing:
- Bambu Lab AMS Lite Top Mount and Z-Axis Stiffener: The Lite version of Bambu’s Automated Materials System (AMS) is the optional accessory that enables multi-color printing for the A1. And like the A1 itself, it’s a lower-cost, open-air version of the AMS that works with Bambu’s more expensive printers.
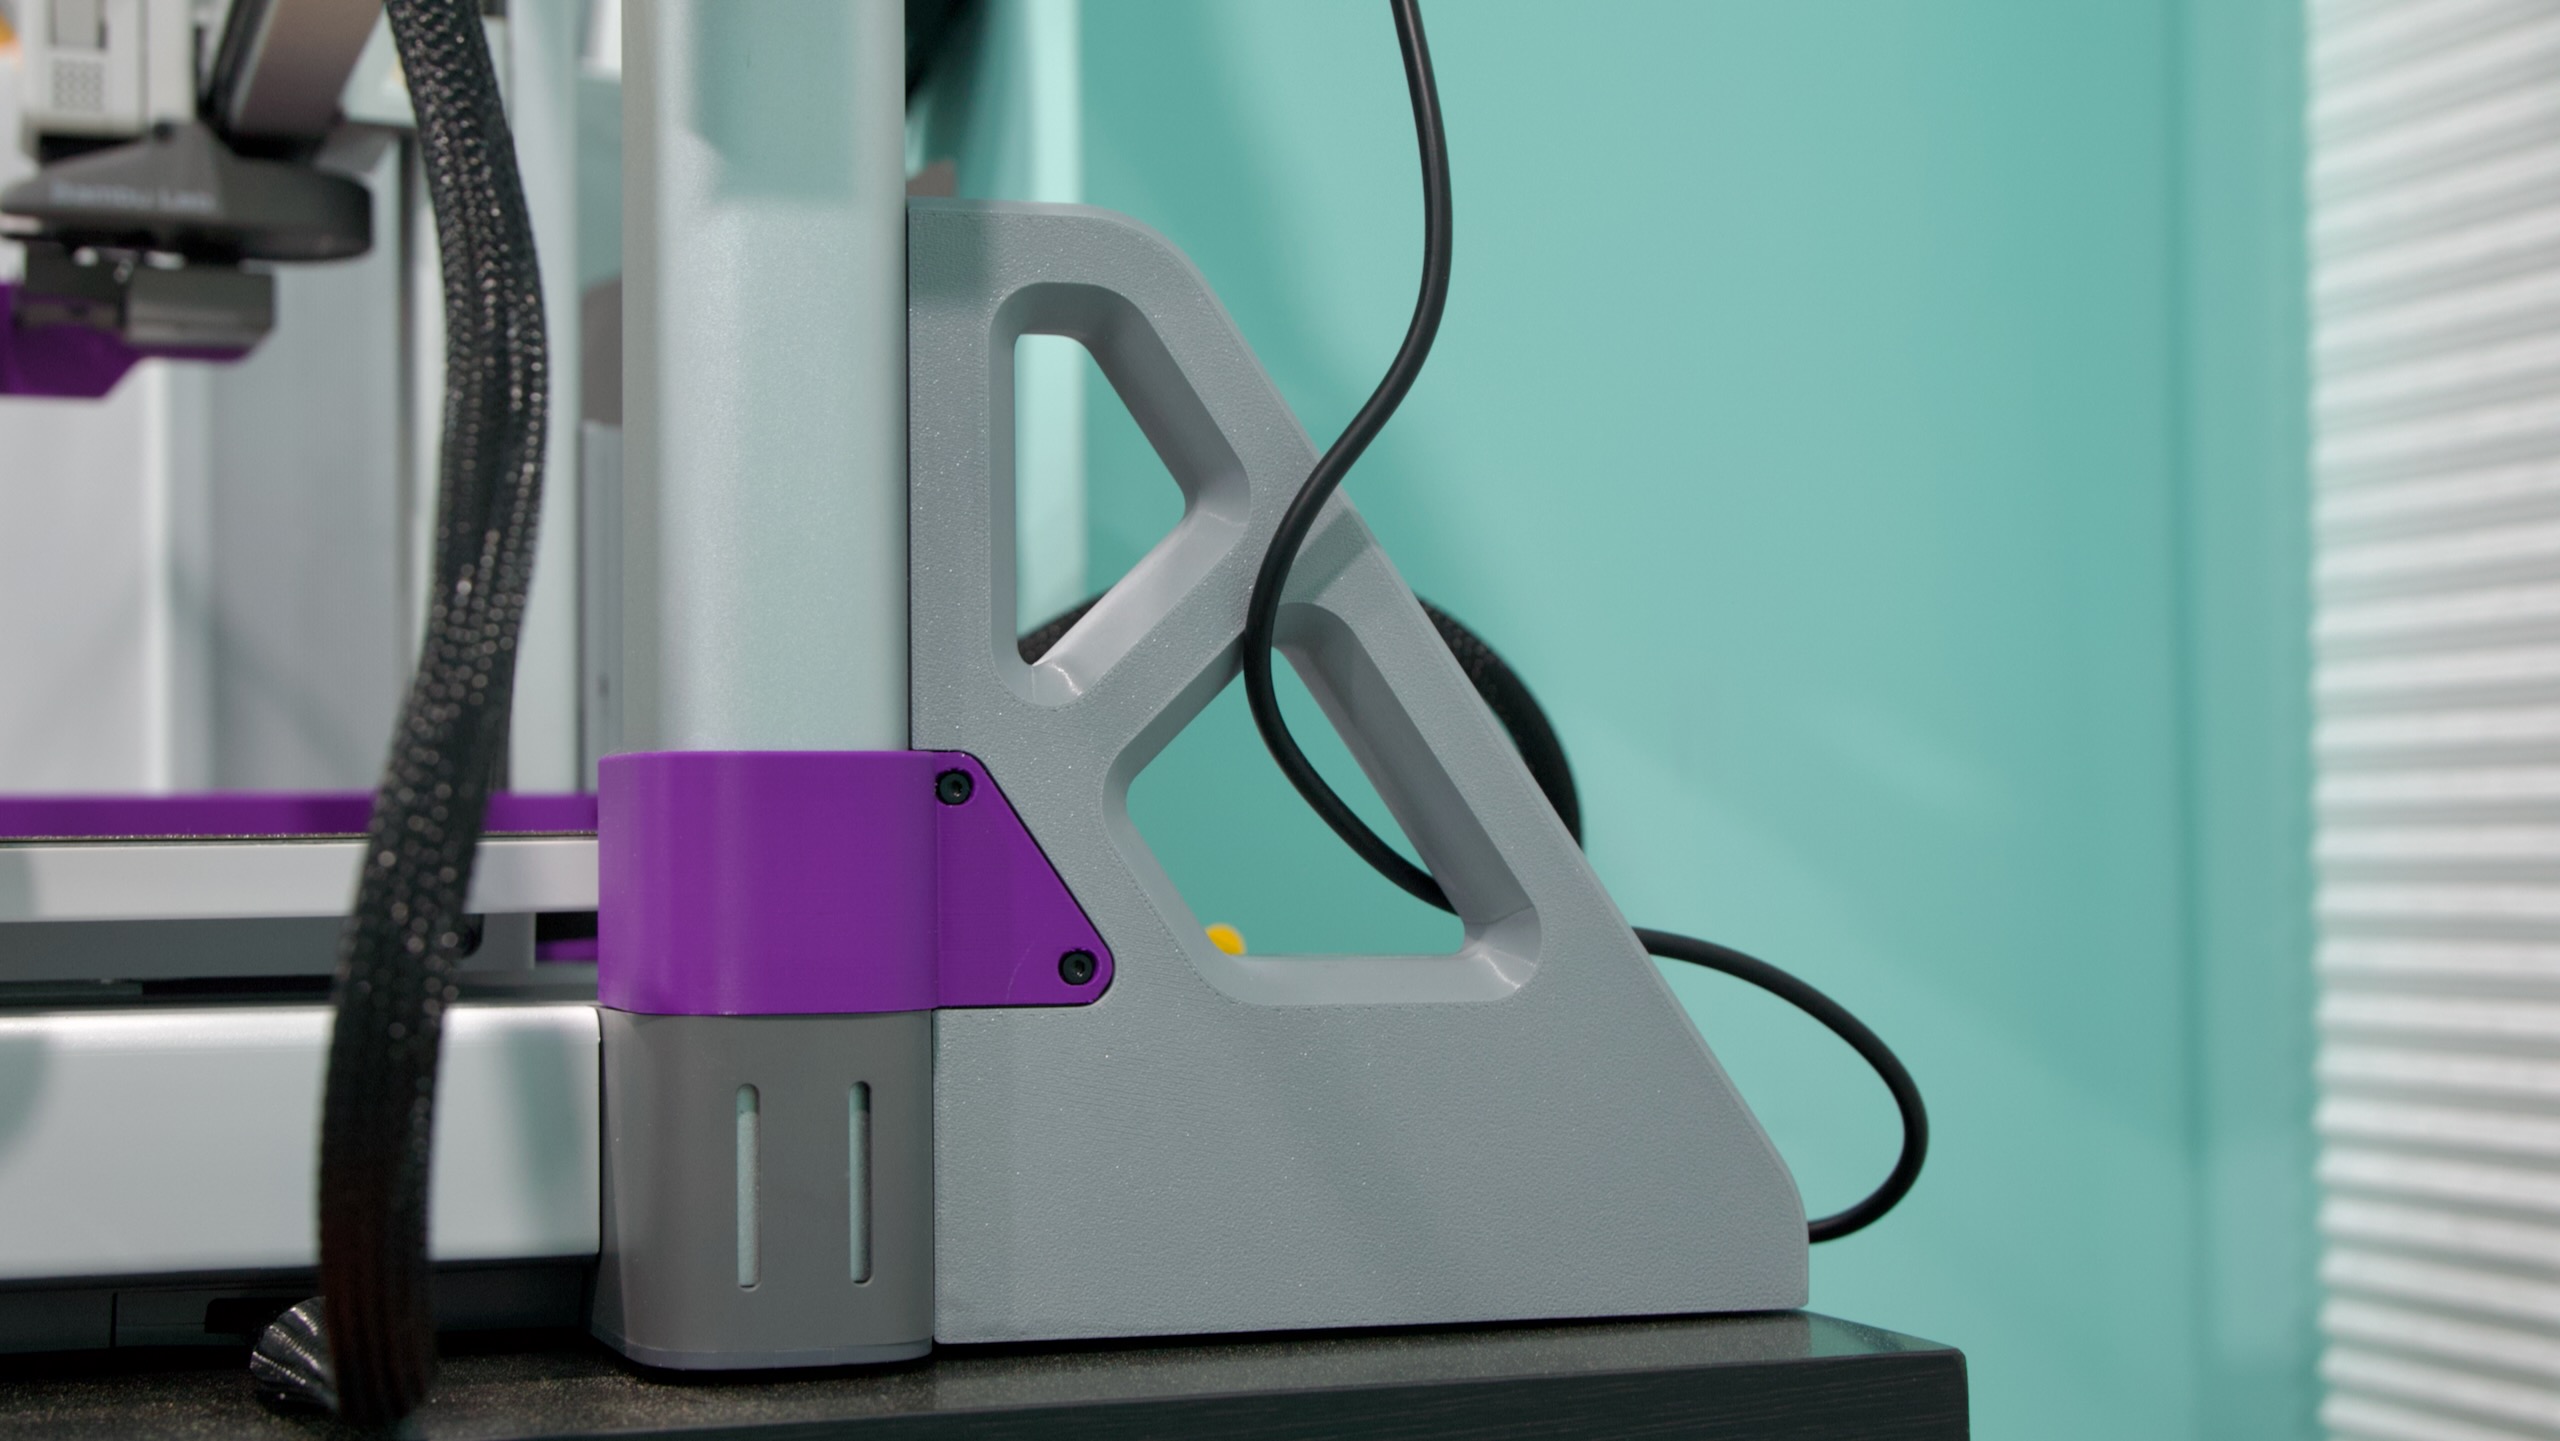
- The AMS Lite comes with a stand that you can use to set it next to the A1, but that’s more horizontal space than I had to spare. This top mount is Bambu’s official solution for putting the AMS Lite on top of the A1 instead, saving you some space.
- The top mount actually has two important components: the top mount itself and a “Z-Axis Stiffener,” a pair of legs that extend behind the A1 to make the whole thing more stable on a desk or table. Bambu already recommends 195 mm (or 7.7 inches) of “safety margin” behind the A1 to give the bed room to sling, so if you’ve left that much space behind the printer, you probably have enough space for these legs.
- After installing all of these parts, the top mount, and a fully loaded AMS, it’s probably a good idea to run the printer’s calibration cycle again to account for the difference in balance.
- You may want to print the top mount itself with PETG, which is a bit stronger and more impact-resistant than PLA plastic.
- A1 Purge Waste Bin and Deflector, by jimbobble. There are approximately 1 million different A1 purge bucket designs, each with its own appeal. But this one is large and simple and includes a version that is compatible with the printer Z-Axis Stiffener legs.
- A1 rectangular fan cover, by Arzhang Lotfi. There are a bunch of options for this, including fun ones, but you can find dozens of simple grille designs that snap in place and protect the fan on the A1’s print head.
- Bambu A1 Adjustable Camera Holder, by mlodybuk: This one’s a little more complicated because it does require some potentially warranty-voiding disassembly of components. The A1’s camera is also pretty awful no matter how you position it, with sub-1 FPS video that’s just barely suitable for checking on whether a print has been ruined or not.
- But if you want to use it, I’d highly recommend moving it from the default location, which is low down and at an odd angle, so you’re not getting the best view of your print that you can.
- This print includes a redesigned cover for the camera area, a filler piece to fill the hole where the camera used to be to keep dust and other things from getting inside the printer, and a small camera receptacle that snaps in place onto the new cover and can be turned up and down.
- If you’re not comfortable modding your machine like this, the camera is livable as-is, but this got me a much better vantage point on my prints.
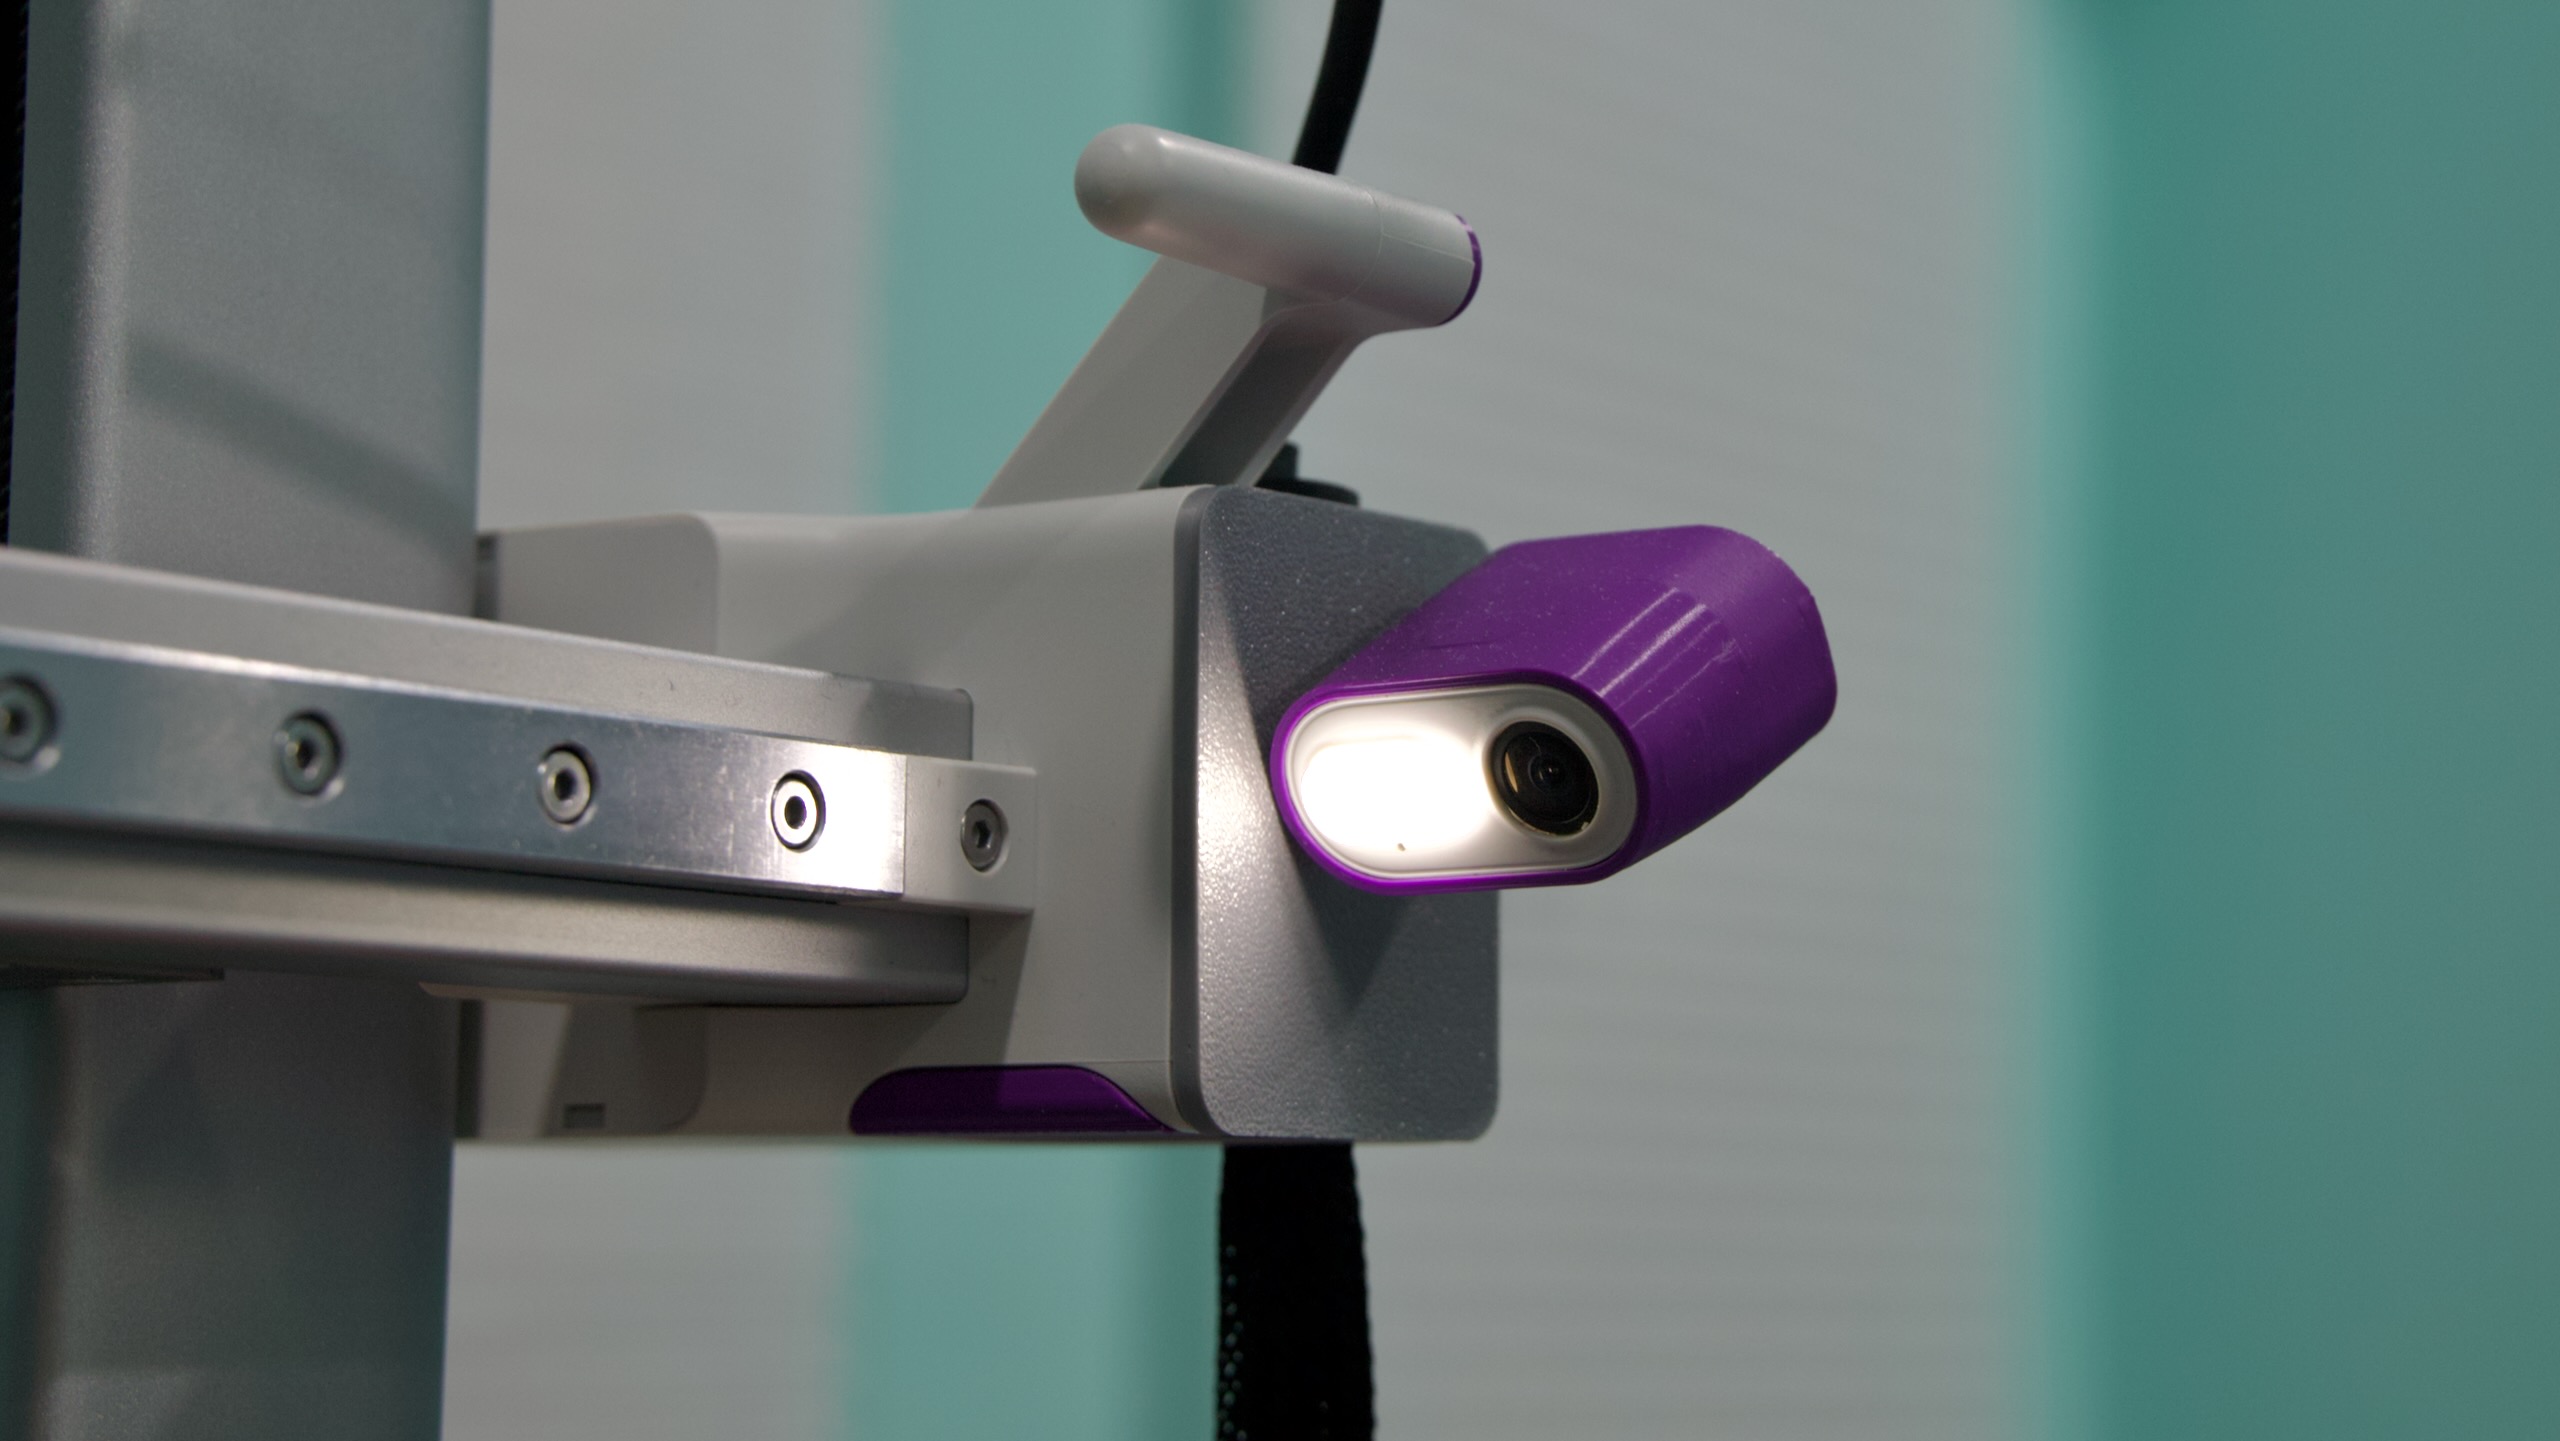
With a little effort, this print allows you to reposition the A1’s camera, giving you a better angle on your prints and making it adjustable.
Credit:
Andrew Cunningham
- A1 Screen Protector New Release, by Rox3D: Not strictly necessary, but an unobtrusive way to protect (and to “turn off”) the A1’s built-in LCD screen when it’s not in use. The hinge mechanism of this print is stiff enough that the screen cover can be lifted partway without flopping back down.
- A1 X-Axis Cover, by Moria3DPStudio: Another only-if-you-want-it print, this foldable cover slides over the A1’s exposed rail when you’re not using it. Just make sure you take it back off before you try to print anything—it won’t break anything, but the printer won’t be happy with you. Not that I’m speaking from experience.
- Ultimate Filament Spool Enclosure for the AMS Lite, by Supergrapher: Here’s the big one, and it’s a true learning experience for all kinds of things. The regular Bambu AMS system for the P- and X-series printers is enclosed, which is useful not just for keeping dust from settling on your filament spools but for controlling humidity and keeping spools you’ve dried from re-absorbing moisture. There’s no first-party enclosure for the AMS Lite, but this user-created enclosure is flexible and popular, and it can be used to enclose the AMS Lite whether you have it mounted on top of or to the side of the A1. The small plastic clips that keep the lids on are mildly irritating to pop on and off, relative to a lid that you can just lift up and put back down, but the benefits are worth it.
- 3D Disc for A1 – “Pokéball,” by BS 3D Print: One of the few purely cosmetic parts I’ve printed. The little spinning bit on the front of the A1’s print head shows you when the filament is being extruded, but it’s not a functional part. This is just one of dozens and dozens of cosmetic replacements for it if you choose to pop it off.
- Sturdy Modular Filament Spool Rack, by Antiphrasis: Not technically an upgrade for the A1, but an easy recommendation for any new 3D printers who suddenly find themselves with a rainbow of a dozen-plus different filaments you want to try. Each shelf here holds three spools of filament, and you can print additional shelves to spread them out either horizontally, vertically, or both, so you can make something that exactly meets your needs and fits your space. A two-by-three shelf gave me room for 18 spools, and I can print more if I need them.
There are some things that others recommend for the A1 that I haven’t printed yet—mainly guides for cables, vibration dampeners for the base, and things to reinforce areas of possible stress for the print head and the A1’s loose, dangly wire.
Part of the fun is figuring out what your problems are, identifying prints that could help solve the problem, and then trying them out to see if they do solve your problem. (The parts have also given my A1 its purple accents, since a bright purple roll of filament was one of the first ones my 5-year-old wanted to get.)
Early mistakes
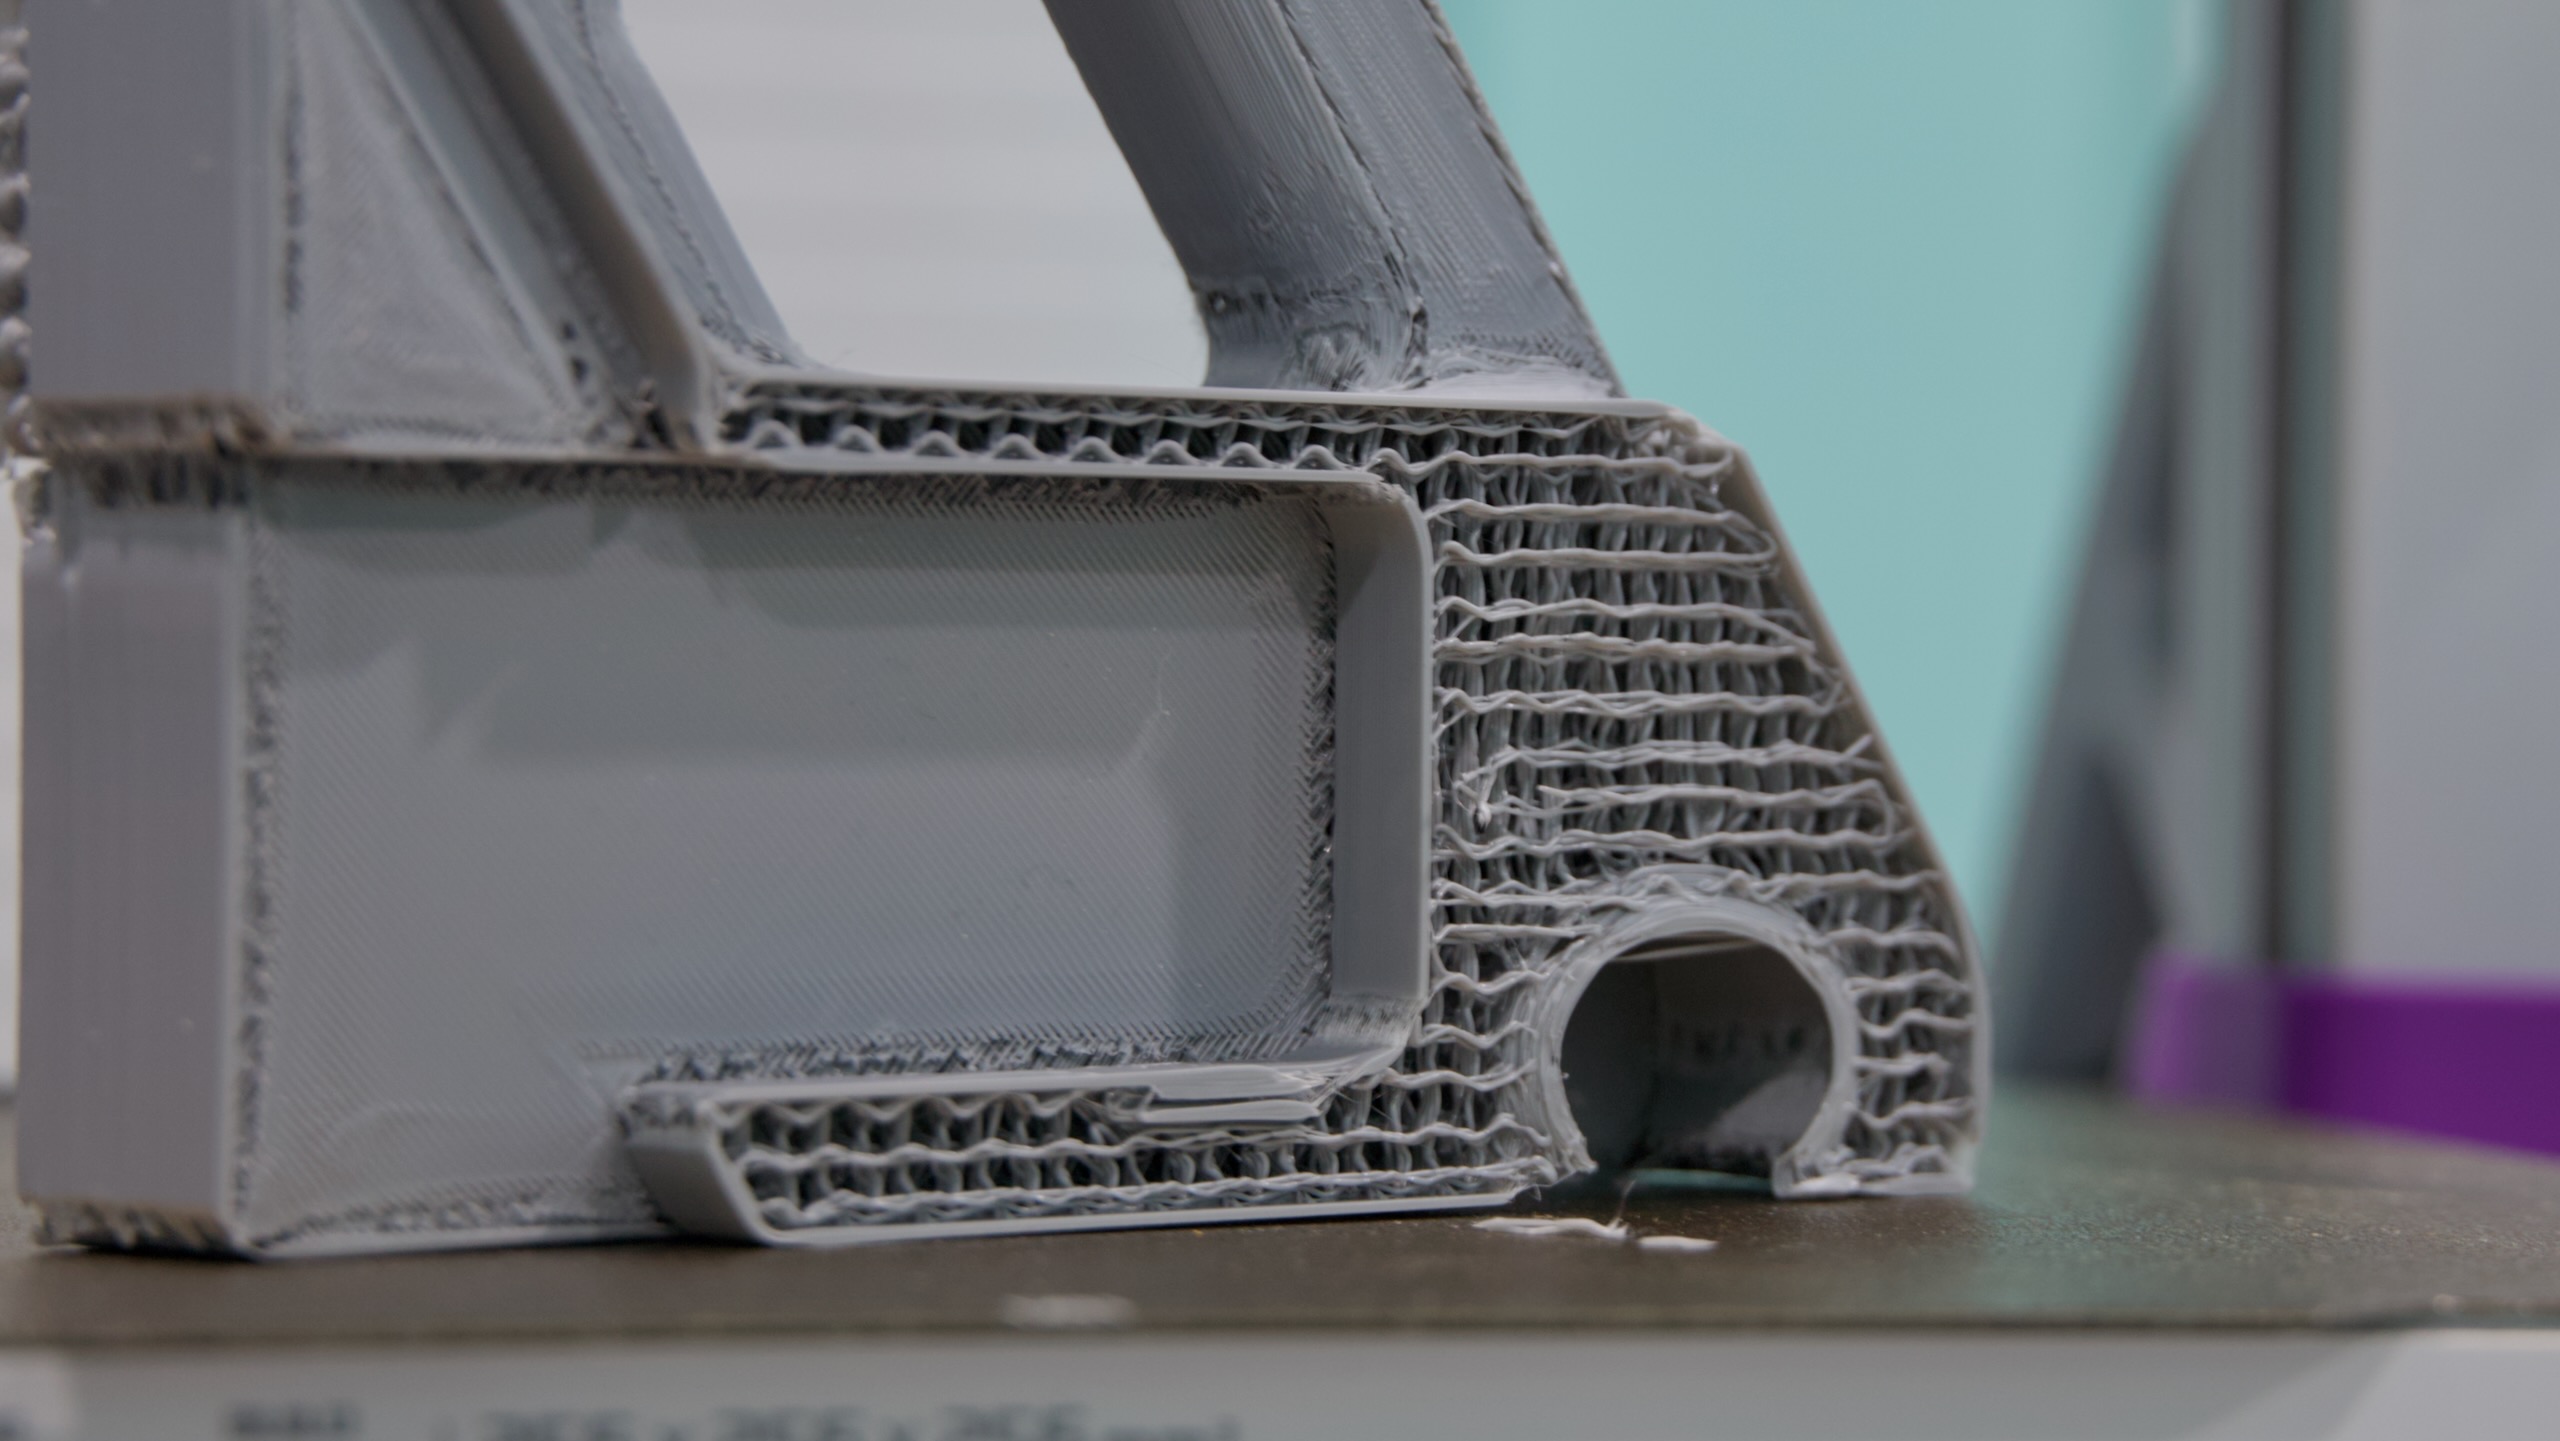
The “Z-Axis stiffener,” an extra set of legs for the A1 that Bambu recommends if you top-mount your AMS Lite. This took me three tries to print, mainly because of my own inexperience.
Credit:
Andrew Cunningham
Printing each of these parts gave me a solid crash course into common pitfalls and rookie mistakes.
For example, did you know that ABS plastic doesn’t print well on an open-bed printer? Well, it doesn’t! But I didn’t know that when I bought a spool of ABS to print some parts that I wanted to be sturdier and more resistant to wear and tear. I’d open the window and leave the room to deal with the fumes and be fine, I figured.
I tried printing the Z-Axis Stiffener supports for the A1 in ABS, but they went wonky. Lower bed temperature and (especially) ambient temperature tends to make ABS warp and curl upward, and extrusion-based printers rely on precision to do their thing. Once a layer—any layer!—gets screwed up during a print, that will reverberate throughout the entire rest of the object. Which is why my first attempt at supports ended up being totally unusable.
Large ABS plastic prints are tough to do on an open-bed printer. You can see here how that lower-left corner peeled upward slightly from the print bed, and any unevenness in the foundation of your print is going to reverberate in the layers that are higher up.
Credit:
Andrew Cunningham
I then tried printing another set of supports with PLA plastic, ones that claimed to maintain their sturdiness while using less infill (that is, how much plastic is actually used inside the print to give it rigidity—around 15 percent is typically a good balance between rigidity and wasting plastic that you’ll never see, though there may be times when you want more or less). I’m still not sure what I did, but the prints I got were squishy and crunchy to the touch, a clear sign that the amount and/or type of infill wasn’t sufficient. It wasn’t until my third try—the original Bambu-made supports, in PLA instead of ABS—that I made supports I could actually use.
An attempt at printing the same part with PLA, but with insufficient infill plastic that left my surfaces rough and the interiors fragile and crunchy. I canceled this one about halfway through when it became clear that something wasn’t right.
Credit:
Andrew Cunningham
After much reading and research, I learned that for most things, PETG plastic is what you use if you want to make sturdier (and outdoor-friendly) prints on an open bed. Great! I decided I’d print most of the A1 ABS enclosure with clear PETG filament to make something durable that I could also see through when I wanted to see how much filament was left on a given spool.
This ended up being a tricky first experiment with PETG plastic for three different reasons. For one, printing “clear” PETG that actually looks clear is best done with a larger nozzle (Bambu offers 0.2 mm, 0.6 mm, and 0.8 mm nozzles for the A1, in addition to the default 0.4 mm) because you can get the same work done in fewer layers, and the more layers you have, the less “clear” that clear plastic will be. Fine!
The Inland-brand clear PETG+ I bought from our local Micro Center also didn’t love the default temperature settings for generic PETG that the A1 uses, both for the heatbed and the filament itself; plastic flowed unevenly from the nozzle and was prone to coming detached from the bed. If this is happening to you (or if you want to experiment with lowering your temperatures to save a bit of energy), going into Bambu Studio, nudging temperatures by 5 degrees in either direction, and trying a quick test print (I like this one) helped me dial in my settings when using unfamiliar filament.
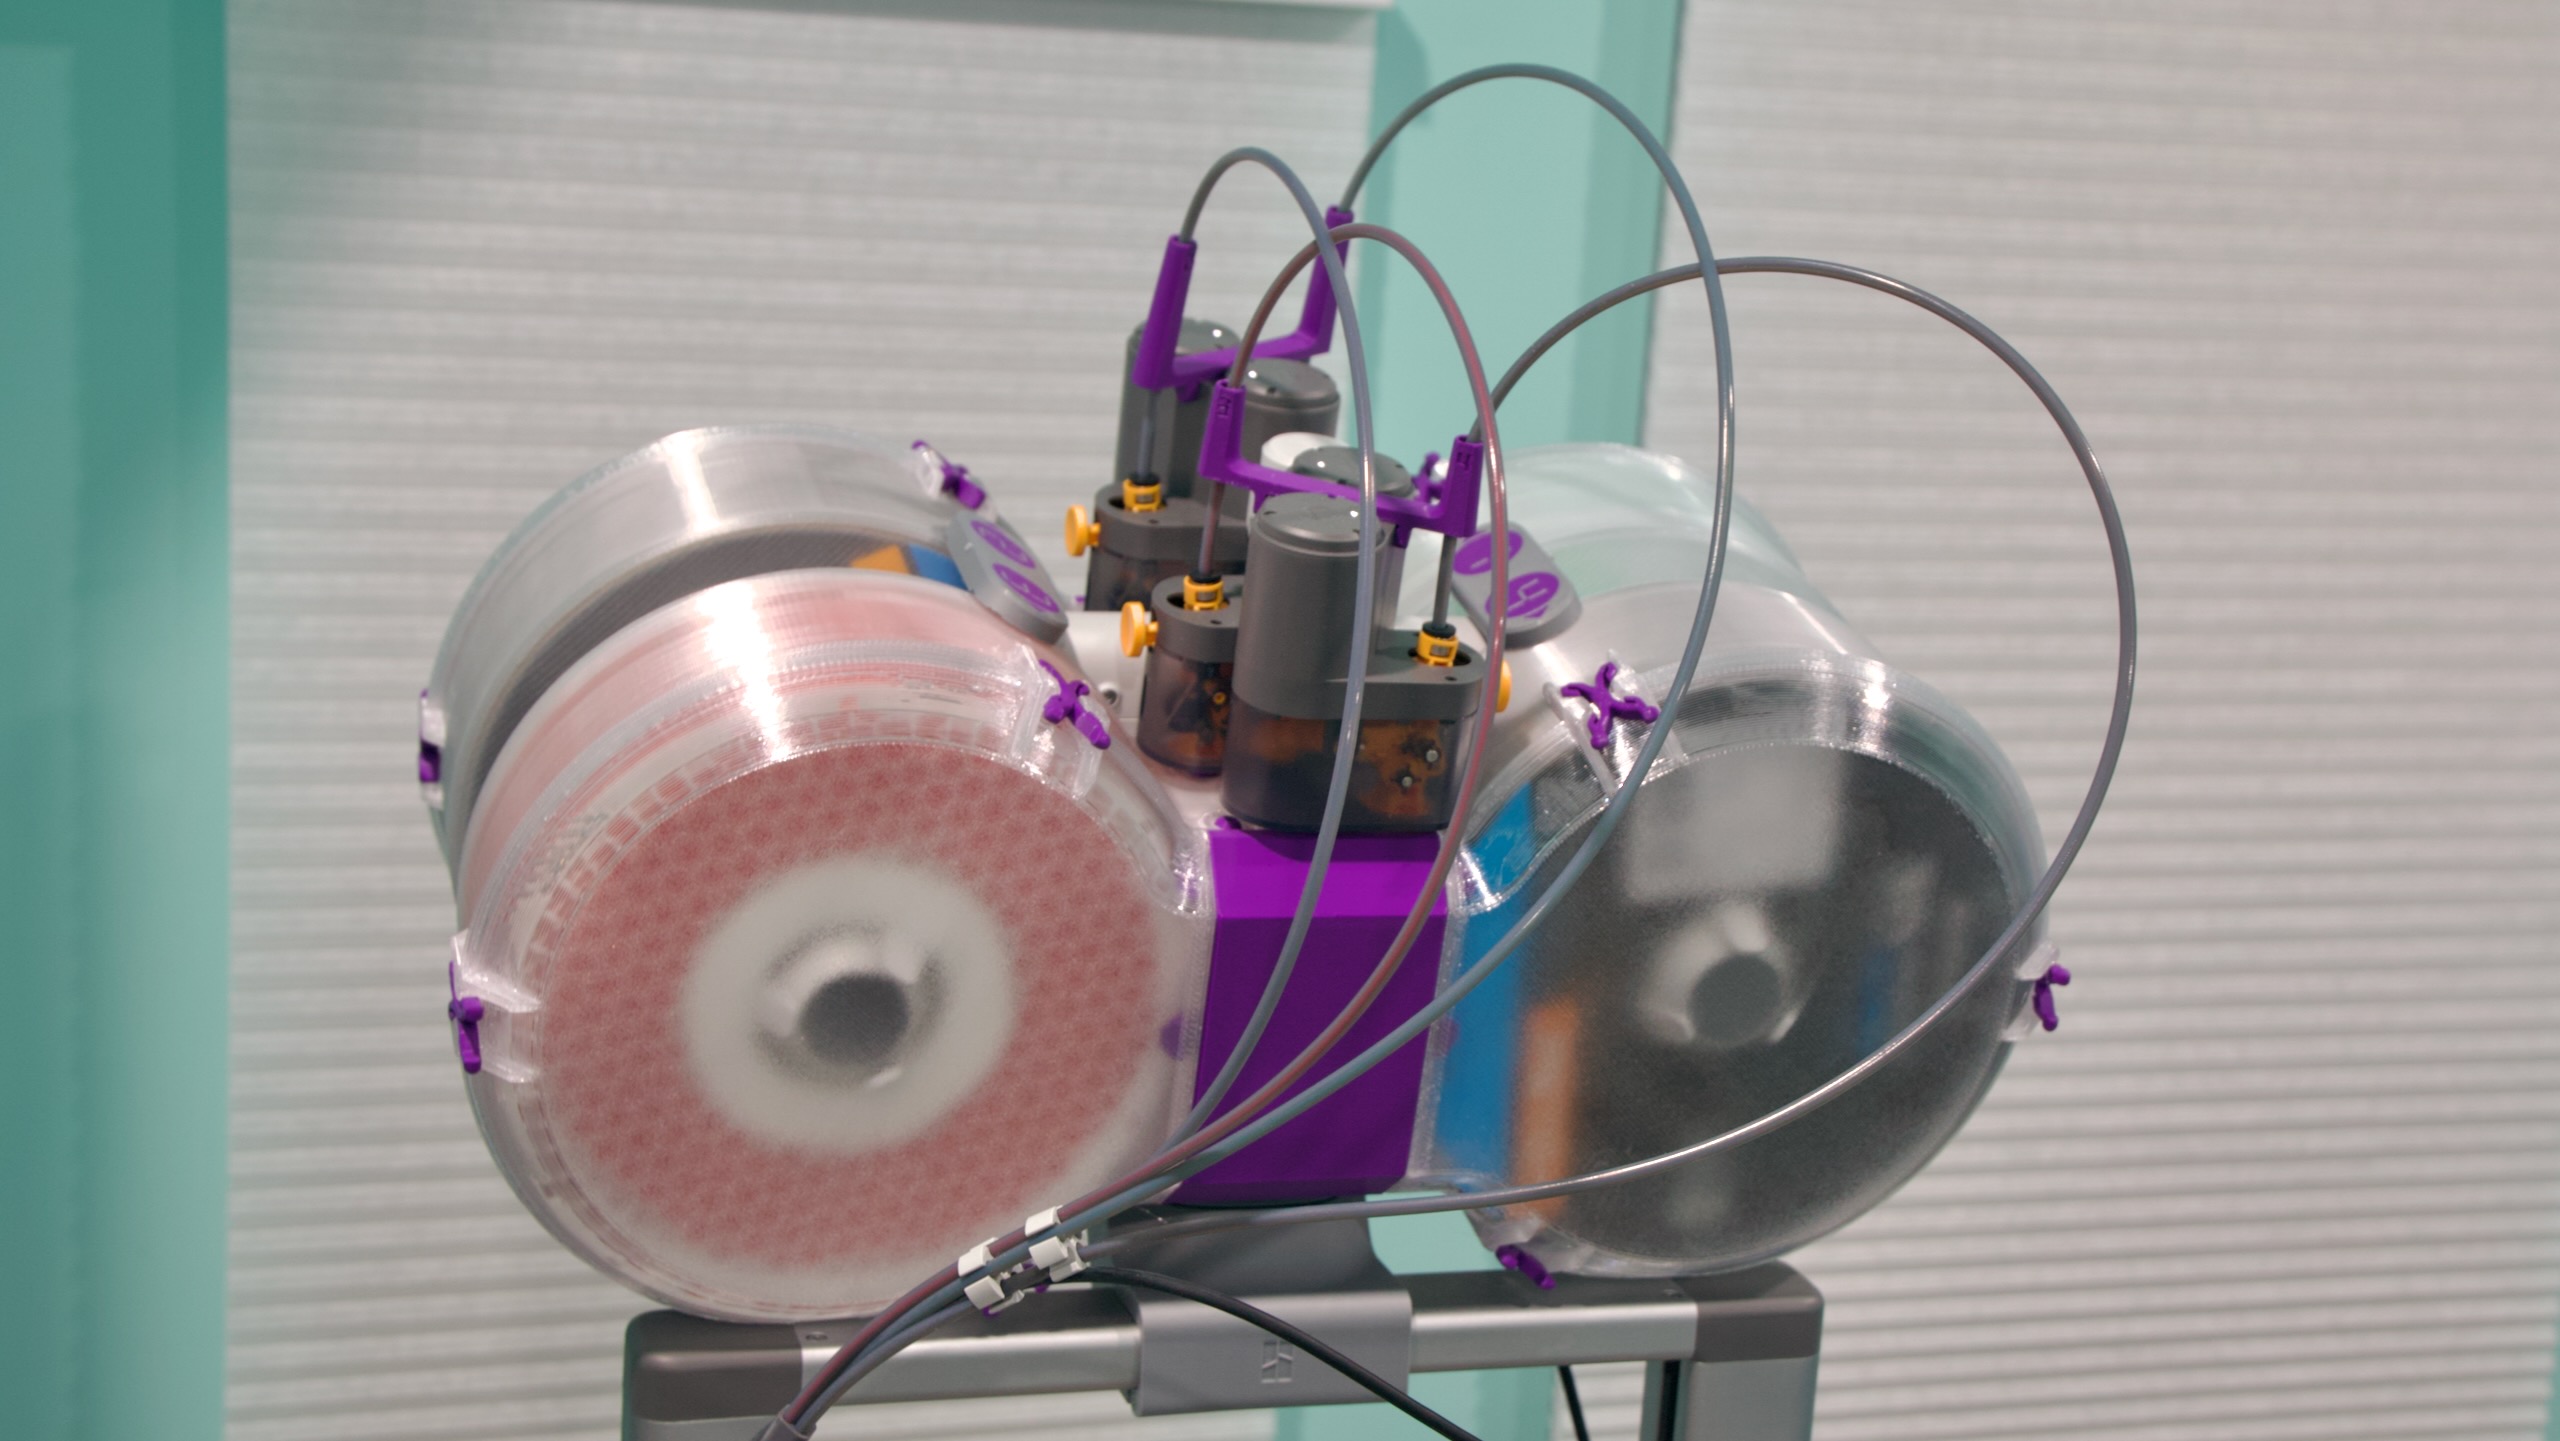
This homebrewed enclosure for the AMS Lite multi-color filament switcher (and the top mount that sticks it on the top of the printer) has been my biggest and most complex print to date. An 0.8 mm nozzle and some settings changes are recommended to maximize the transparency of transparent PETG filament.
Credit:
Andrew Cunningham
Finally, PETG is especially prone to absorbing ambient moisture. When that moisture hits a 260° nozzle, it quickly evaporates, and that can interfere with the evenness of the flow rate and the cleanliness of your print (this usually manifests as “stringing,” fine, almost cotton-y strands that hang off your finished prints).
You can buy dedicated filament drying boxes or stick spools in an oven at a low temperature for a few hours if this really bothers you or if it’s significant enough to affect the quality of your prints. One of the reasons to have an enclosure is to create a humidity-controlled environment to keep your spools from absorbing too much moisture in the first place.
The temperature and nozzle-size adjustments made me happy enough with my PETG prints that I was fine to pick off the little fuzzy stringers that were on my prints afterward, but your mileage may vary.
These are just a few examples of the kinds of things you learn if you jump in with both feet and experiment with different prints and plastics in rapid succession. Hopefully, this advice helps you avoid my specific mistakes. But the main takeaway is that experience is the best teacher.
The wide world of plastics
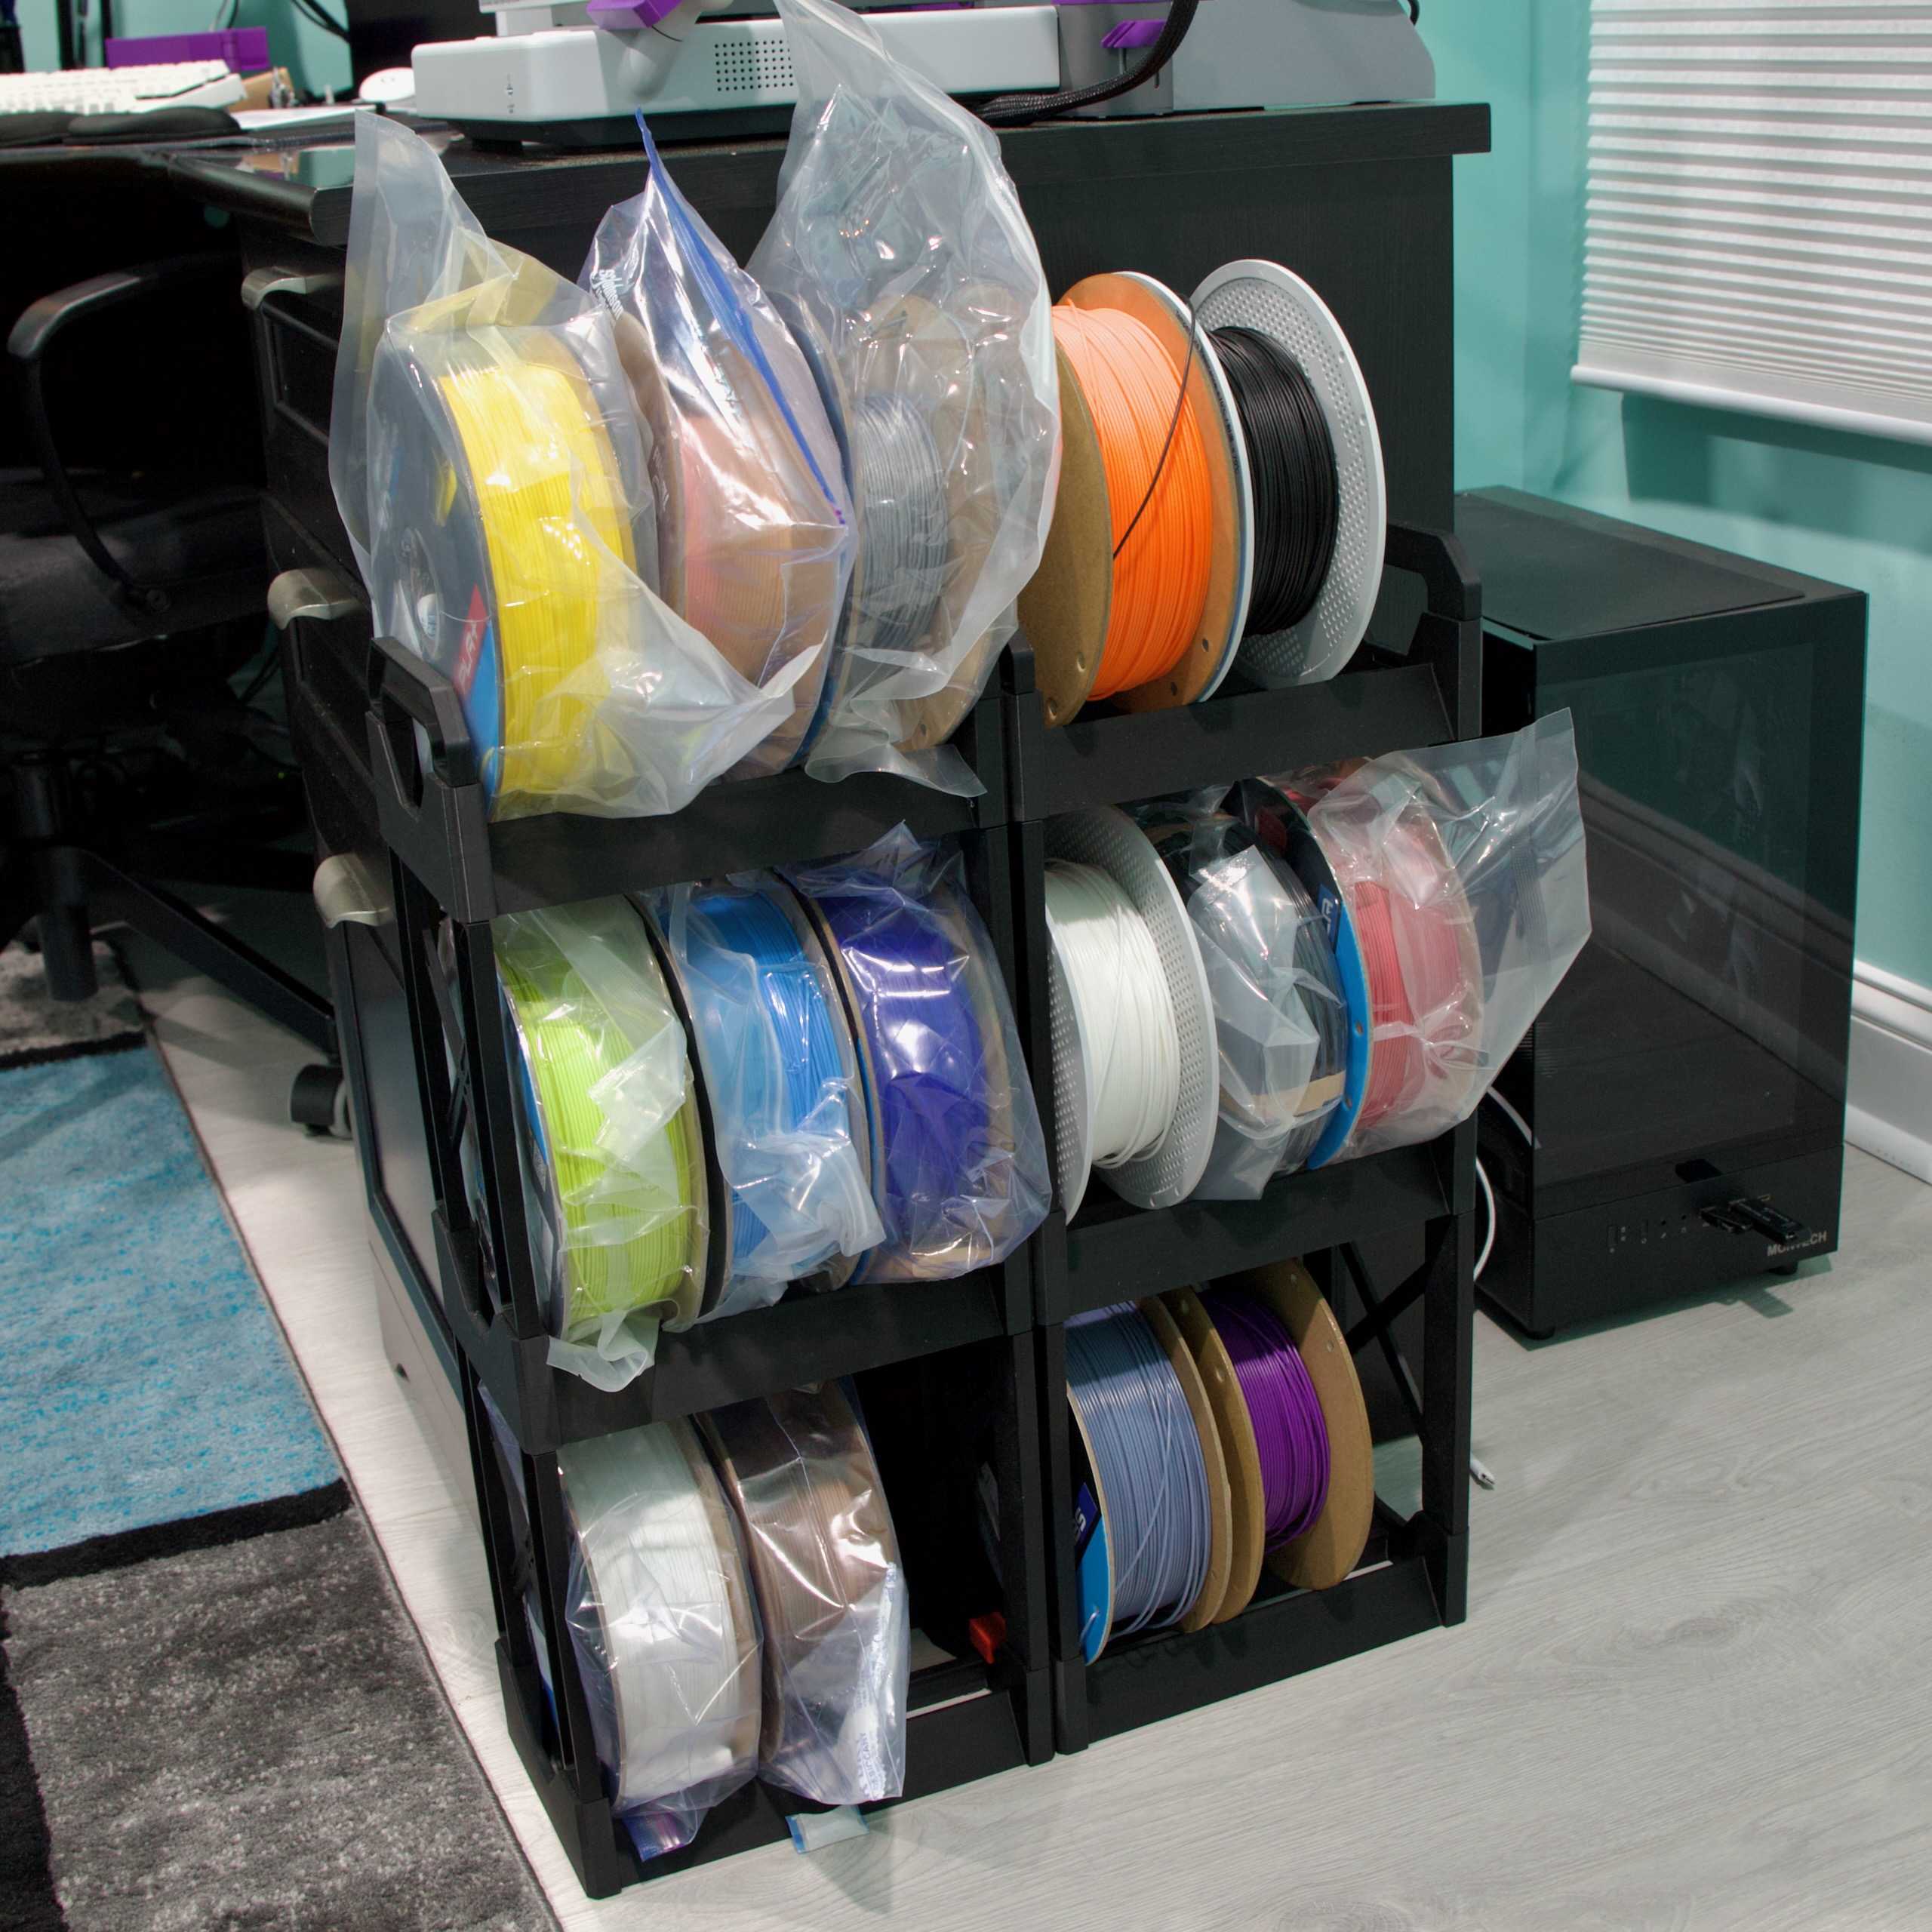
I used filament to print a modular filament shelf for my filaments.
Credit:
Andrew Cunningham
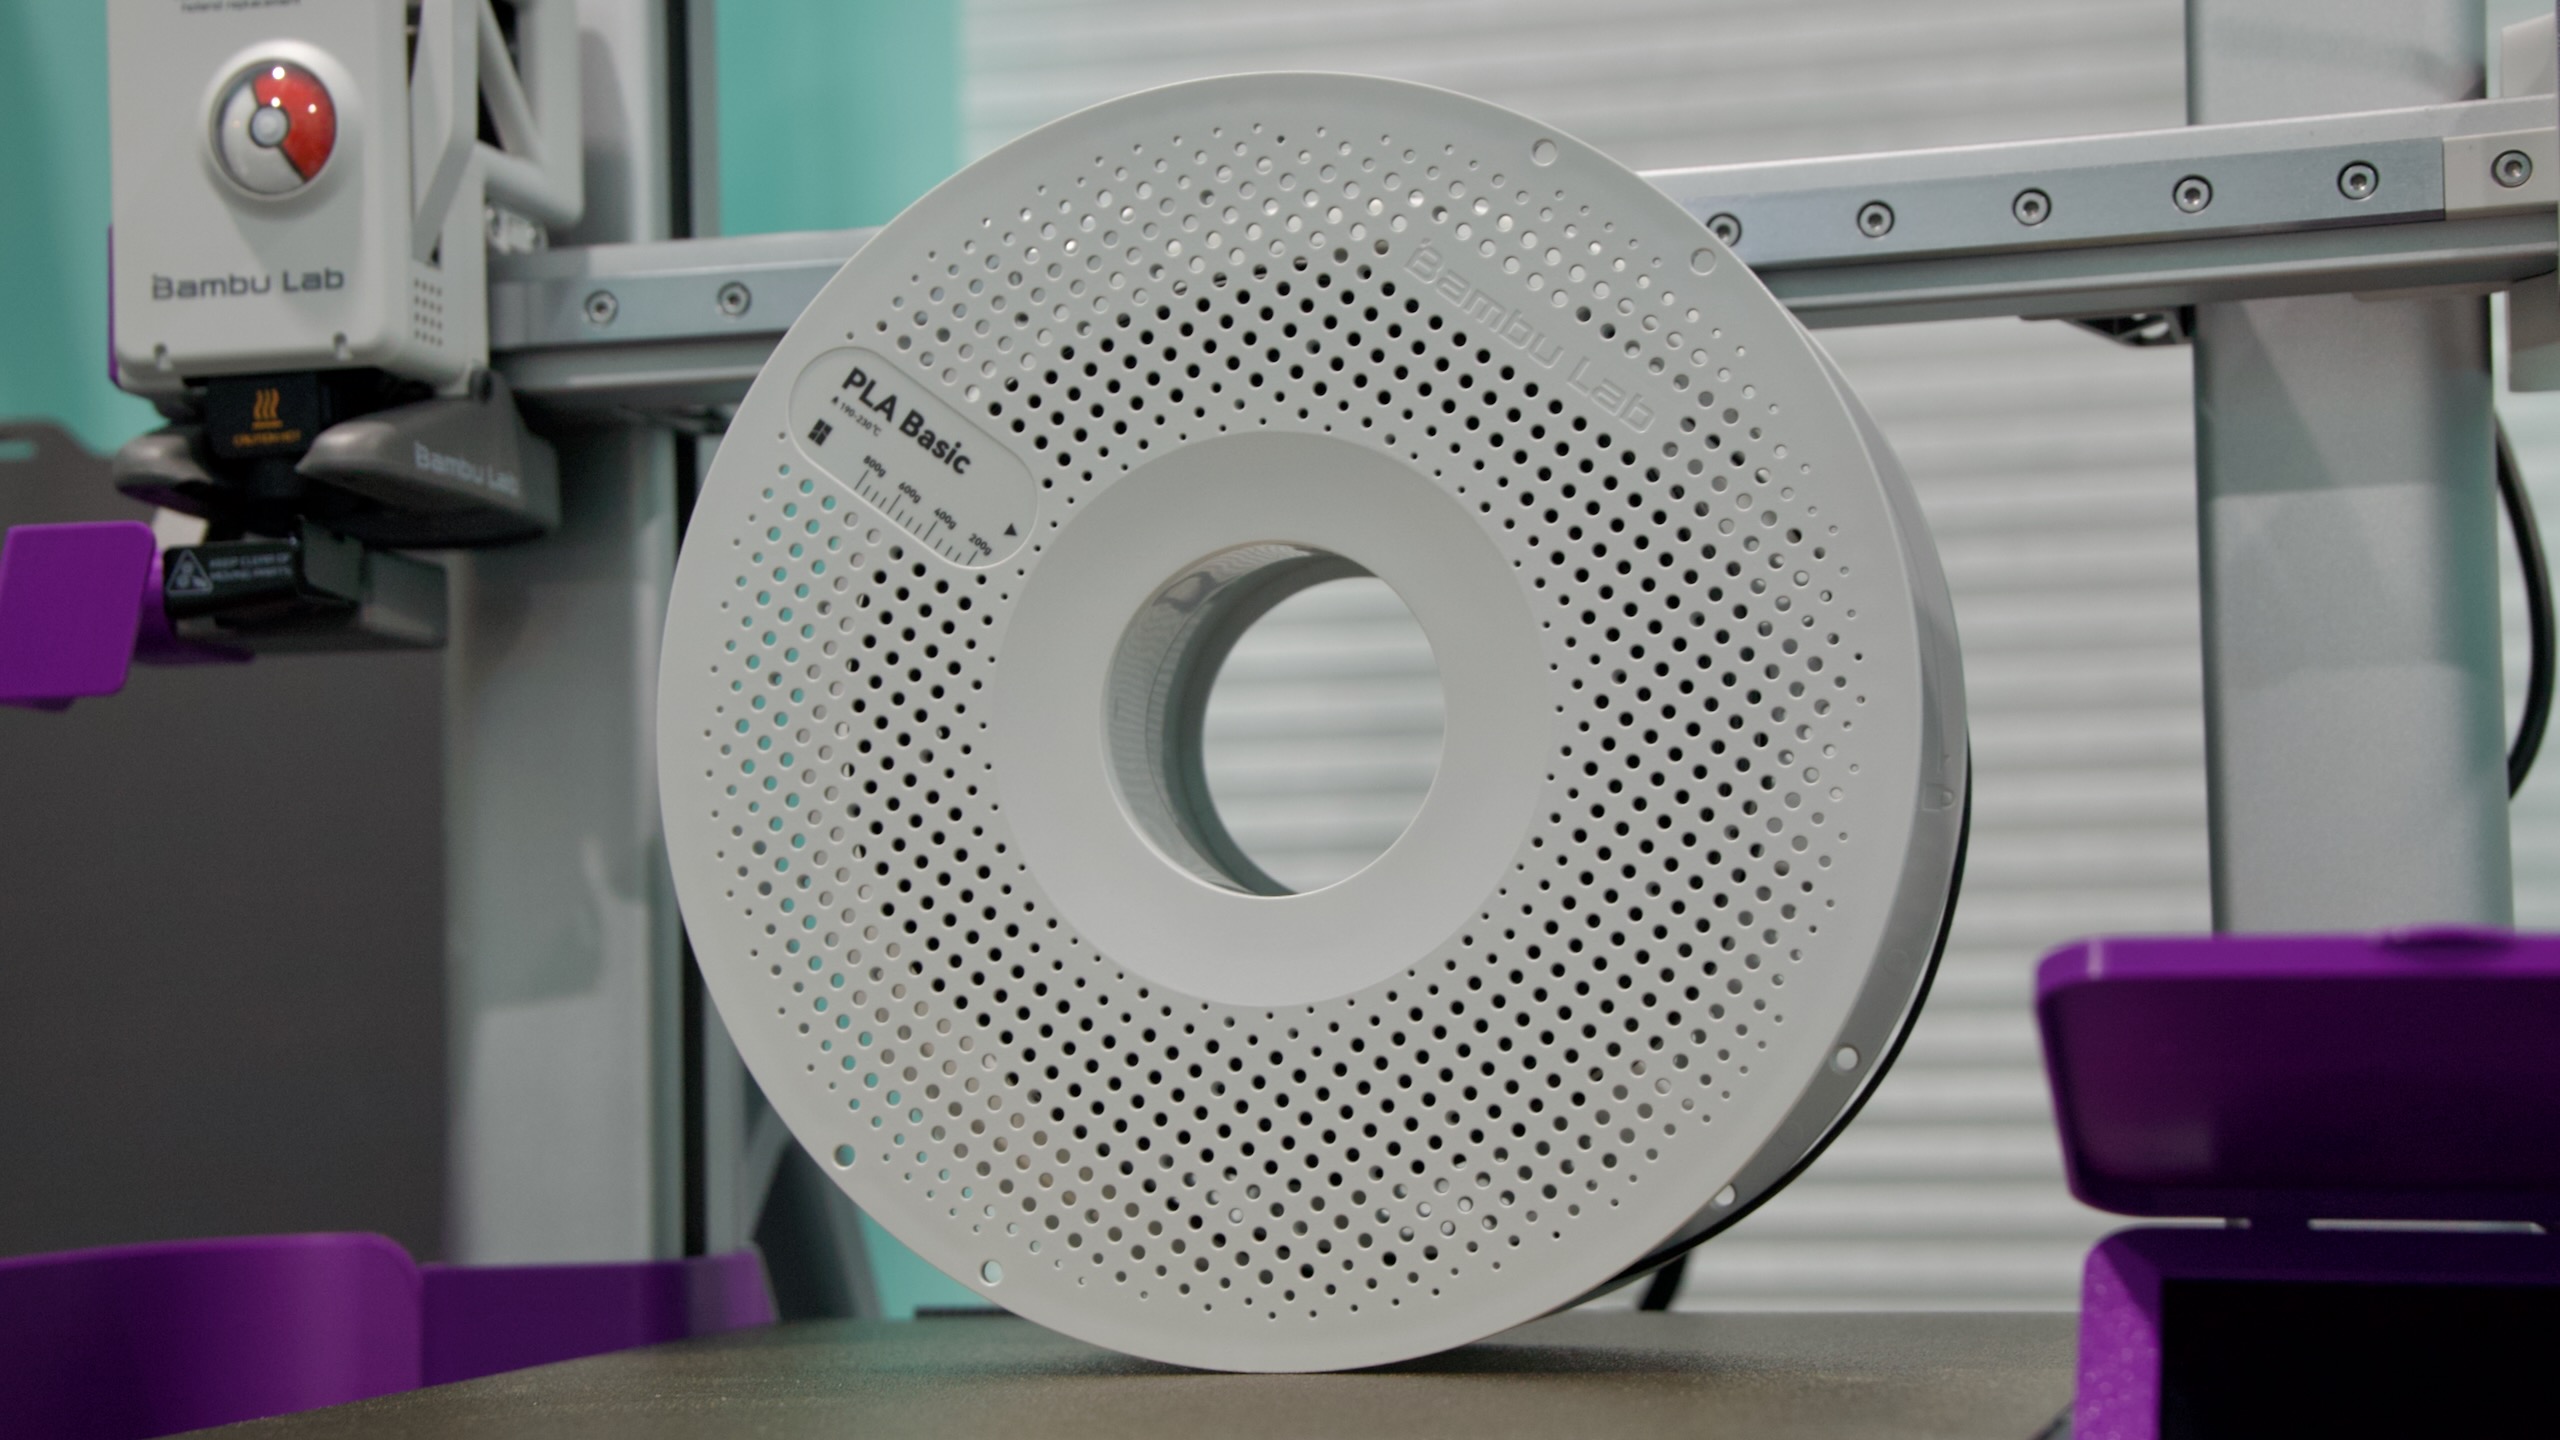
My wife had gotten me two spools of filament, a white and a black spool of Bambu’s own PLA Basic. What does all of that mean?
No matter what you’re buying, it’s most commonly sold in 1 kilogram spools (the weight of the plastic, not the plastic and the spool together). Each thing you print will give you an estimate of how much filament, in grams, you’ll need to print it.
There are quite a few different types of plastics out there, on Bambu’s site and in other stores. But here are the big ones I found out about almost immediately:
Polylactic acid, or PLA
By far the most commonly used plastic, PLA is inexpensive, available in a huge rainbow of colors and textures, and has a relatively low melting point, making it an easy material for most 3D printers to work with. It’s made of renewable material rather than petroleum, which makes it marginally more environmentally friendly than some other kinds of plastic. And it’s easy to “finish” PLA-printed parts if you’re trying to make props, toys, or other objects that you don’t want to have that 3D printed look about them, whether you’re sanding those parts or using a chemical to smooth the finish.
The downside is that it’s not particularly resilient—sitting in a hot car or in direct sunlight for very long is enough to melt or warp it, which makes it a bad choice for anything that needs to survive outdoors or anything load-bearing. Its environmental bona fides are also a bit oversold—it is biodegradable, but it doesn’t do so quickly outside of specialized composting facilities. If you throw it in the trash and it goes to a landfill, it will still take its time returning to nature.
You’ll find a ton of different kinds of PLA out there. Some have additives that give them a matte or silky texture. Some have little particles of wood or metal or even coffee or spent beer grains embedded in them, meant to endow 3D printed objects with the look, feel, or smell of those materials.
Some PLA just has… some other kind of unspecified additive in it. You’ll see “PLA+” all over the place, but as far as I can tell, there is no industry-wide agreed-upon standard for what the plus is supposed to mean. Manufacturers sometimes claim it’s stronger than regular PLA; other terms like “PLA Pro” and “PLA Max” are similarly non-standardized and vague.
Polyethylene terephthalate glycol, or PETG
PET is a common household plastic, and you’ll find it in everything from clothing fibers to soda bottles. PETG is the same material, with ethylene glycol (the “G”) added to lower the melting point and make it less prone to crystallizing and warping. It also makes it more transparent, though trying to print anything truly “transparent” with an extrusion printer is difficult.
PETG has a higher melting point than PLA, but it’s still lower than other kinds of plastics. This makes PETG a good middle ground for some types of printing. It’s better than PLA for functional load-bearing parts and outdoor use because it’s stronger and able to bend a bit without warping, but it’s still malleable enough to print well on all kinds of home 3D printers.
PETG can still be fussier to work with than PLA. I more frequently had issues with the edges of my PETG prints coming unstuck from the bed of the printer before the print was done.
PETG filament is also especially susceptible to absorbing moisture from the air, which can make extrusion messier. My PETG prints have usually had lots of little wispy strings of plastic hanging off them by the end—not enough to affect the strength or utility of the thing I’ve printed but enough that I needed to pull the strings off to clean up the print once it was done. Drying the filament properly could help with that if I ever need the prints to be cleaner in the first place.
It’s also worth noting that PETG is the strongest kind of filament that an open-bed printer like the A1 can handle reliably. You can succeed with other plastics, but Reddit anecdotes, my own personal experience, and Bambu’s filament guide all point to a higher level of difficulty.
Acrylonitrile butadiene styrene, or ABS
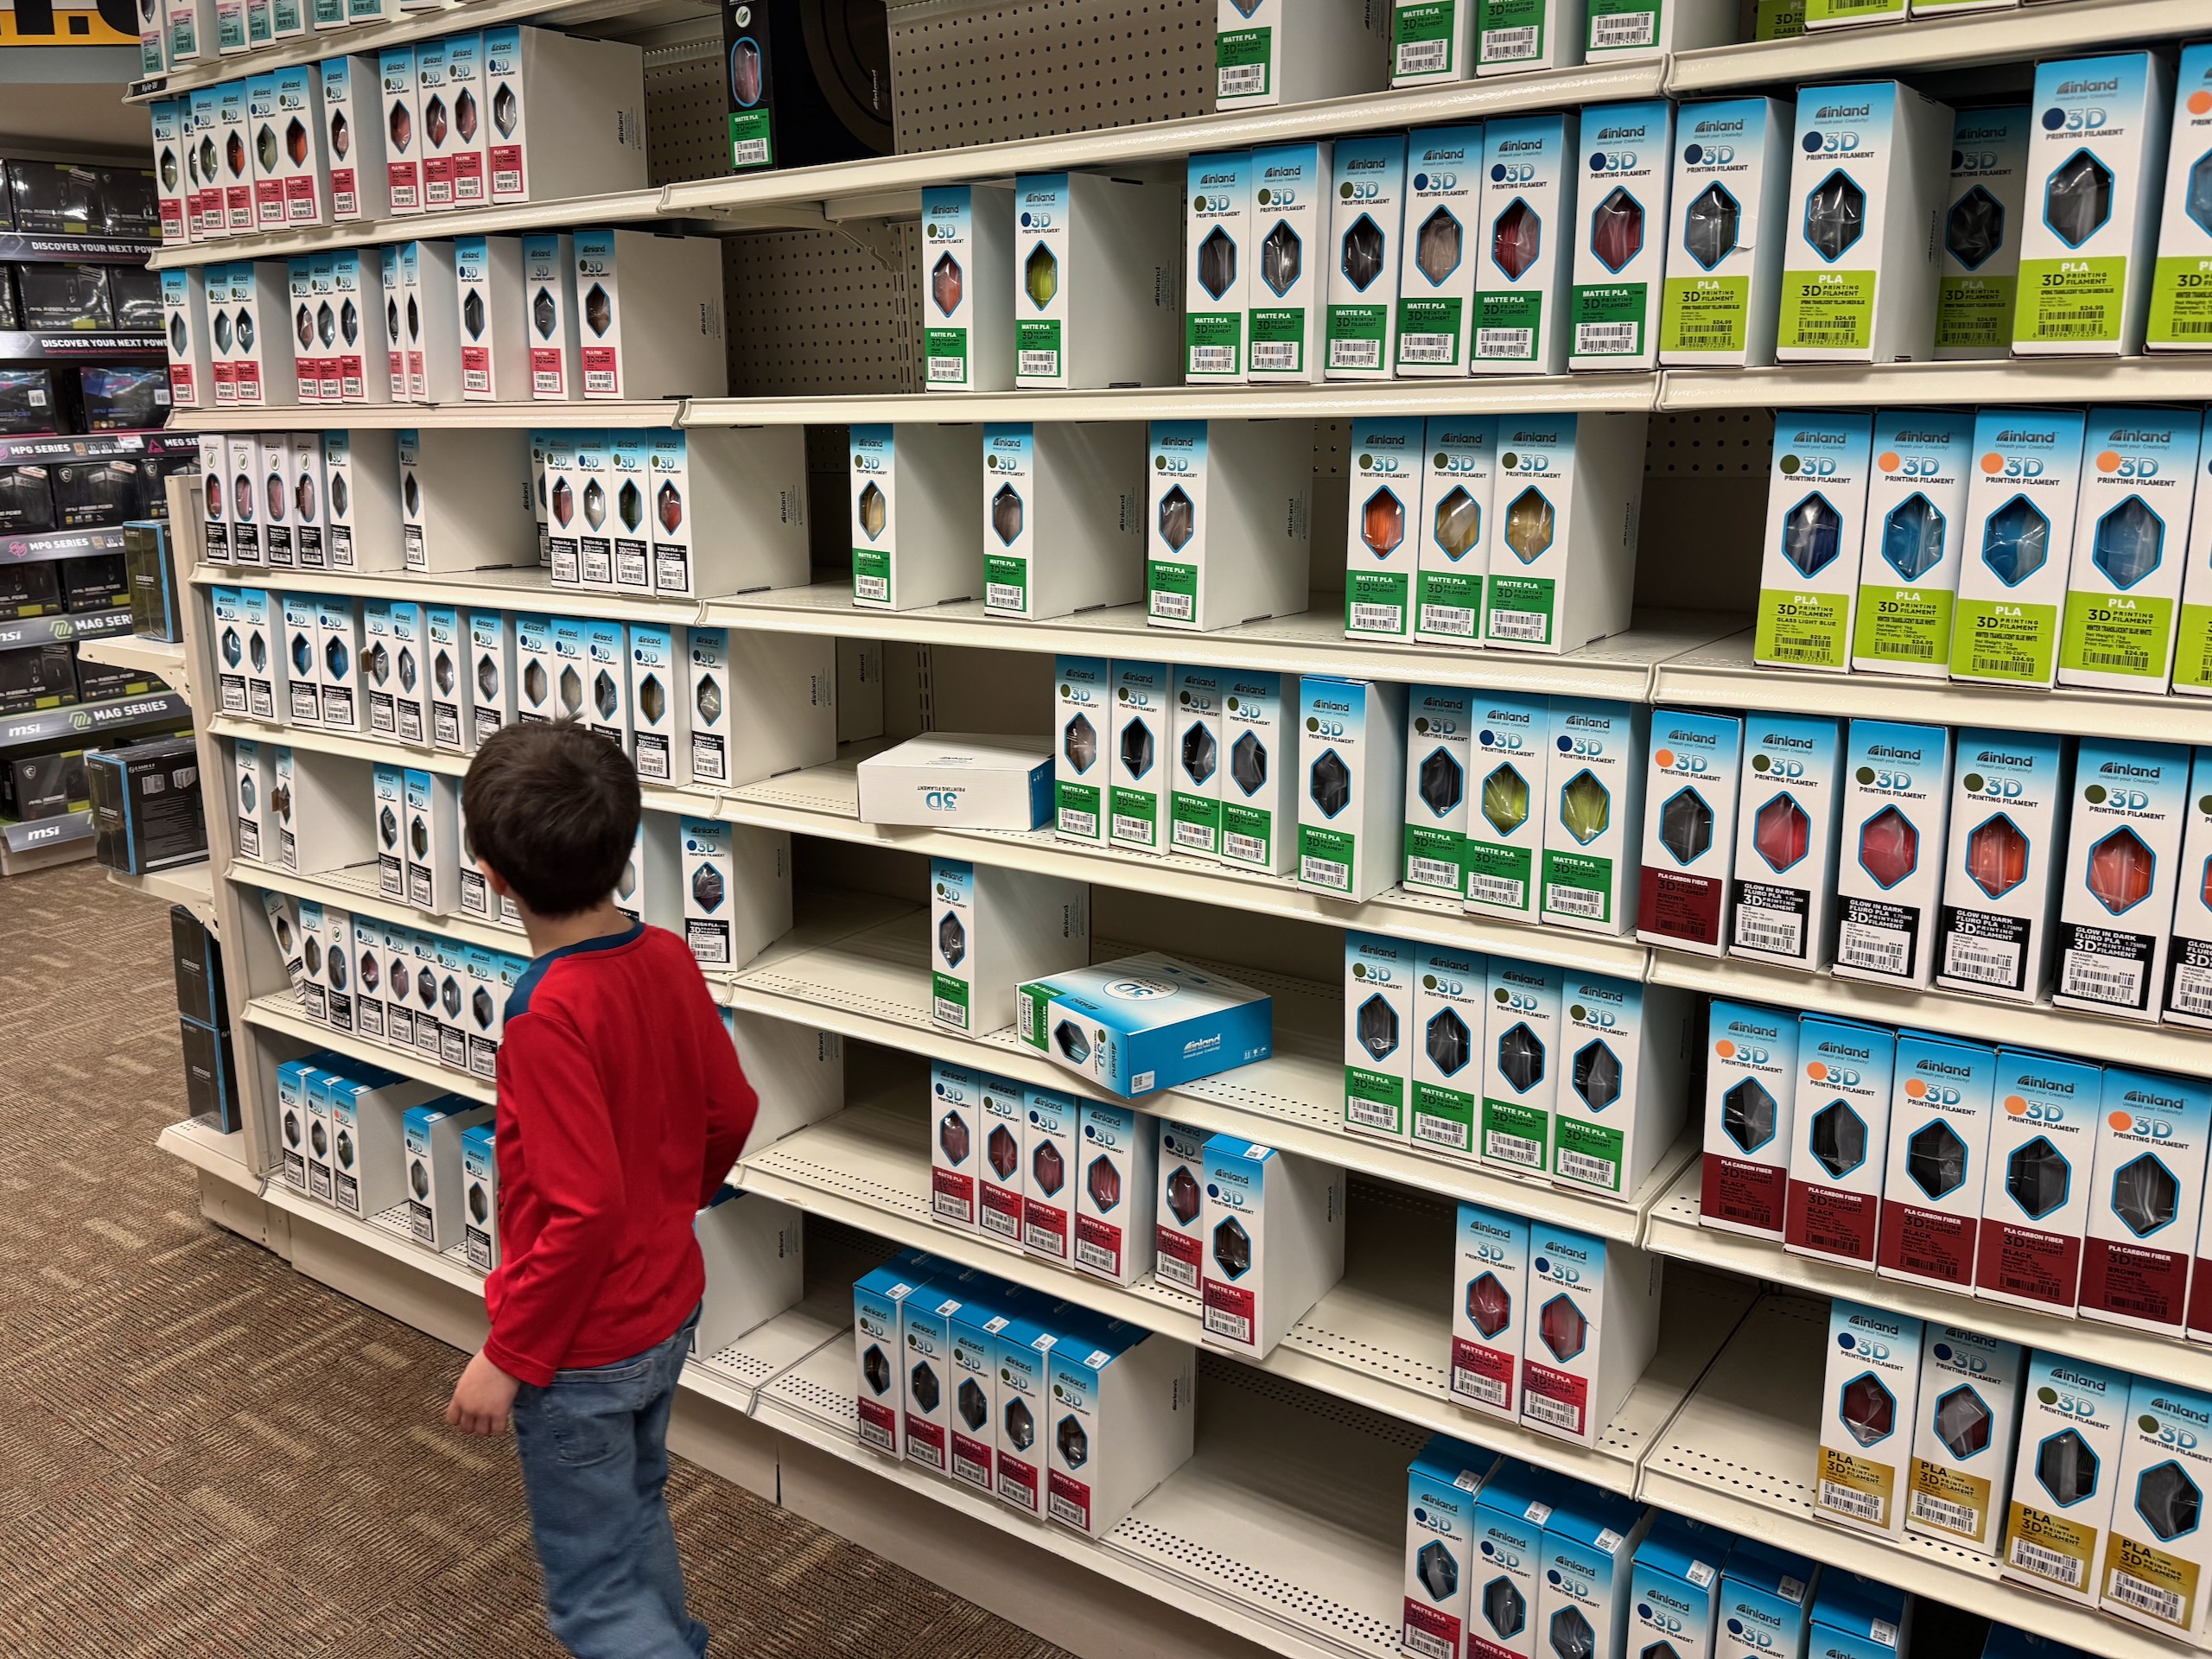
“Going to look at the filament wall at Micro Center” is a legit father-son activity at this point.
Credit:
Andrew Cunningham
You probably have a lot of ABS plastic in your life. Game consoles and controllers, the plastic keys on most keyboards, Lego bricks, appliances, plastic board game pieces—it’s mostly ABS.
Thin layers of ABS stuck together aren’t as strong or durable as commercially manufactured injection-molded ABS, but it’s still more heat-resistant and durable than 3D-printed PLA or PETG.
There are two big issues specific to ABS, which are also outlined in Bambu’s FAQ for the A1. The first is that it doesn’t print well on an open-bed printer, especially for larger prints. The corners are more prone to pulling up off the print bed, and as with a house, any problems in your foundation will reverberate throughout the rest of your print.
The second is fumes. All 3D-printed plastics emit fumes when they’ve been melted, and a good rule of thumb is to at least print things in a room where you can open the window (and not in a room where anyone or anything sleeps). But ABS and ASA plastics in particular can emit fumes that cause eye and respiratory irritation, headaches, and nausea if you’re printing them indoors with insufficient ventilation.
As for what quantity of printing counts as “dangerous,” there’s no real consensus, and the studies that have been done mostly land in inconclusive “further study is needed” territory. At a bare minimum, it’s considered a best practice to at least be able to open a window if you’re printing with ABS or to use a closed-bed printer in an unoccupied part of your home, like a garage, shed, or workshop space (if you have one).
Acrylonitrile styrene acrylate, or ASA
Described to me by Ars colleague Lee Hutchinson as “ABS but with more UV resistance,” this material is even better suited for outdoor applications than the other plastics on this list.
But also like ABS, you’ll have a hard time getting good results with an open-bed printer, and the fumes are more harmful to inhale. You’ll want a closed-bed printer and decent ventilation for good results.
Thermoplastic polyurethane, or TPU
TPU is best known for its flexibility relative to the other kinds of plastics on this list. It doesn’t get as brittle when it’s cold and has more impact-resistance, and it can print reasonably well on an open-bed printer.
One downside of TPU is that you need to print slowly to get reliably good results—a pain, when even relatively simple fidget toys can take an hour or two to print at full speed using PLA. Longer prints mean more power use and more opportunities for your print to peel off the print bed. A roll of TPU filament will also usually run you a few dollars more than a roll of PLA, PETG, or ABS.
First- or third-party filament?
The first-party Bambu spools have RFID chips in them that Bambu printers can scan to automatically show the type and color of filament that it is and to keep track of how much filament you have remaining. Bambu also has temperature and speed presets for all of its first-party filaments built into the printer and the Bambu Studio software. There are presets for a few other filament brands in the printer, but I usually ended up using the “generic” presets, which may need some tuning to ensure the best possible adhesion to the print bed and extrusion from the nozzle.
I mostly ended up using Inland-branded filament I picked up from my local Micro Center—both because it’s cheaper than Bambu’s first-party stuff and because it’s faster and easier for me to get to. If you don’t have a brick-and-mortar hobby store with filaments in stock, the A1 and other printers sometimes come with some sample filament swatches so you can see the texture and color of the stuff you’re buying online.
What’s next?
Part of the fun of 3D printing is that it can be used for a wide array of projects—organizing your desk or your kitchen, printing out little fidget-toy favors for your kid’s birthday party, printing out replacement parts for little plastic bits and bobs that have broken, or just printing out decorations and other objects you’ll enjoy looking at.
Once you’re armed with all of the basic information in this guide, the next step is really up to you. What would you find fun or useful? What do you need? How can 3D printing help you with other household tasks or hobbies that you might be trying to break into? For the last part of this series, the Ars staffers with 3D printers at home will share some of their favorite prints—hearing people talk about what they’d done themselves really opened my eyes to the possibilities and the utility of these devices, and more personal testimonials may help those of you who are on the fence to climb down off of it.

Andrew is a Senior Technology Reporter at Ars Technica, with a focus on consumer tech including computer hardware and in-depth reviews of operating systems like Windows and macOS. Andrew lives in Philadelphia and co-hosts a weekly book podcast called Overdue.